Features:
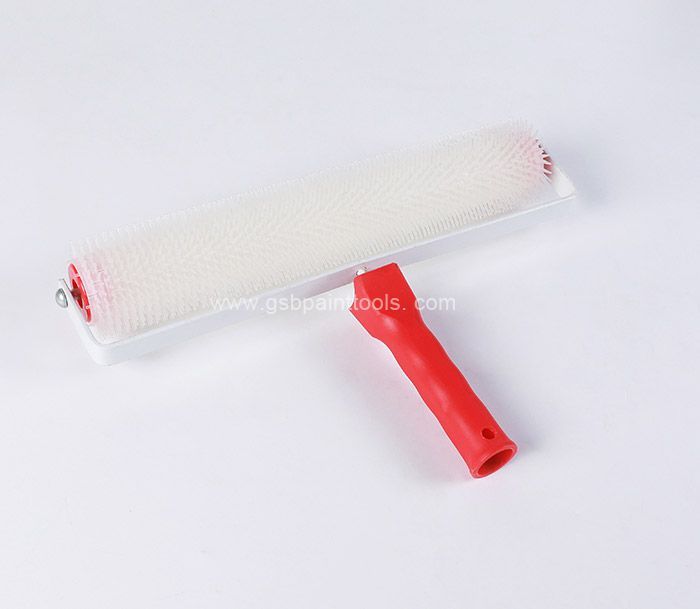
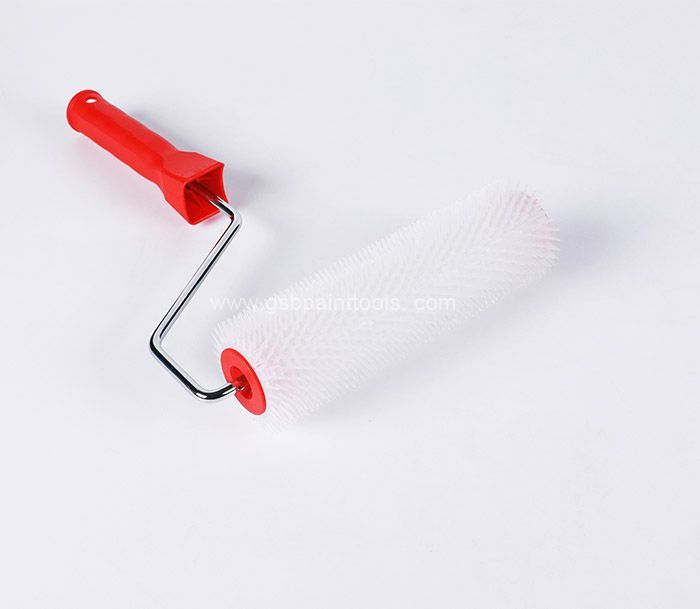
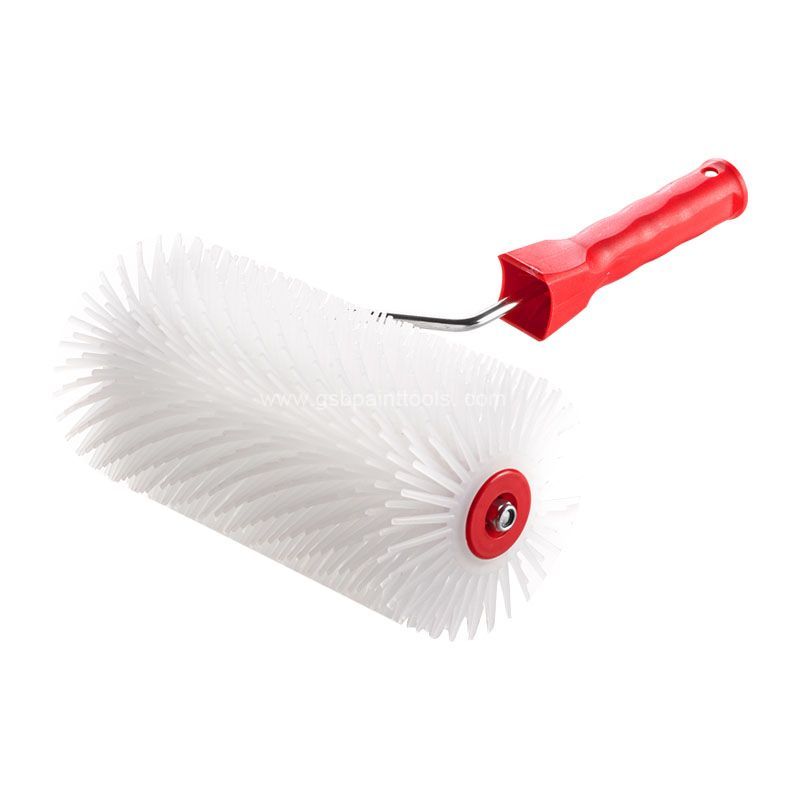
Items Name:Spiked Roller
Items No.: FR1 / FR2
Brand: G.SB
Style: Roller
Material: Plastic
FR-1 Size: Dia 72mm, length of spikes 12cm, rolls size 250mm, qty of sheet 40
FR-2 Size: Dia 72mm, length of spikes 12cm, rolls size 400mm, qty of sheet 66
Core Materials: Plastic
Including Handle: Yes
Range of Application: Floor paint defoaming
Applied Environment: Inside and outside the floor
Packing: Shrink PVC Paper
Our sample policy:
Sample order is acceptable. We can supply the sample if we have ready parts in stock, but the customers need to pay the sample cost and the courier cost.
Packaging & Delivery
Each piece packed in the double blister with color paper (we design a logo for a client to promote their brand name in the local market).
Port: RongQi
Lead Time:
| Quantity(Pieces) | 1 - 1000 | >1000 |
| Est. Time(days) | 40 | To be negotiated |
We are strict with the package and the quality, we promise the customer the best services.
Payment terms:
1. The price above is EXW price. If the order value is over USD6000, it can be same as FOB price.
2. We will offer documents as: invoice, packing list, B/L, CO. If customer needs other certification, we need to charge customer the extra cost.
3. The delivery time will be 30-40 days after receiving deposit.
4. Payment term: 50% deposit, 50% paid upon copy of shipping documents.
You can obtain a perfectly smooth paint surface by using a roller! I have actually painted lots of pieces of furniture (as well as cabinets) utilizing both a paint sprayer and also a brush/paint roller combination. If you analyzed the paint coating very closely, it may not be 100% as smooth as a surface sprayed with a paint sprayer. But considering that nobody is posting likely to be analyzing your furniture with a magnifying glass, a roller will work simply great.
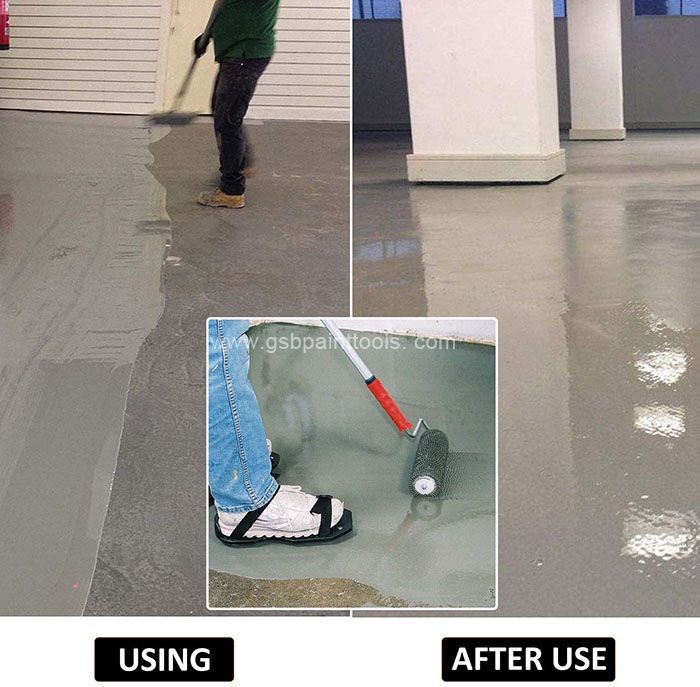
Leveling roller: leveling roller is used to move leveling around any area for comfort while spreading.No matter big space or small space, this product is very suitable for use, light and convenient. used to remove bubbles when painting.Suitable for epoxy floor paint construction, better effect.After use the surface is smooth and smooth, is an excellent product. Attach this roller to handle and use it on your self leveling concrete, for a novice like someone it worked wonders. We had all the other necessary tools to level the floor with SLC, but it just wasn’t coming out the way we wanted to, until you use the roller and it made everything flatter with no air bubbles. Easy to assembly and very sturdy piece of equipment. Did the job well and worked much better than the other types of equipment that we have used in the past for the floor leveling product when used in our basement.
How to get a smooth do with a paint roller?
The very first step to obtaining a truly smooth paint finish is, to begin with, a smooth surface area. If you are painting a timber surface area that is a little bit rougher than you'd such as, sand it with 220 grit sandpaper to smooth the harsh sides.
It also aids to use excellent paint. Most furniture paints as well as paints that work well for closets are self-leveling. This implies that as they dry, they ravel to form an even surface which actually aids brush strokes and roller marks vanish.
Whatever paint you are using, be sure to stir it thoroughly prior to painting.
Pour your paint right into a paint tray and roll your roller in the paint. Be sure to roll your roller around a couple of times, in the beginning, to make sure all sides are loaded with paint.
Roll your roller over the ridges and also grooves of the shallow side of the paint tray to eliminate any kind of excess paint. You want your paint roller to be wet yet not trickling.
Paint with long even rolls relocating from one side of the surface area to the various other.
When you have actually rolled on the first layer of paint, you will most likely discover some areas that appear like they could utilize a retouch. It is so appealing to just do another quick roll of paint over those spots, but do not do it!
When the paint starts to dry, it ends up being gaudy and if you touch it or roll it, you will actually contribute to the texture as opposed to making it smoother.
When the paint has totally dried, you can add a 2nd coat. Once it dries, the second coat should look smoother and extra even than the very first.
step by step
1. Determine whether the furniture can be painted with other colors. With the development of industry, the board used for furniture is no longer limited to logs. Commonly used are various woodworking boards, fireproof boards, compression molded boards, etc. Among them, fireproof boards and compression molded furniture are not suitable for paint color change (mainly color change The process is cumbersome).
2. Prepare before changing paint. If it's log furniture, buy some sandpaper, and prepare it for the thickness. If it is not log furniture, you need to buy some extra "putty" for leveling and filling. The choice of paint, due to the different components of the paint, some paints will cause mutual chemical reactions, so you should choose the type of paint that is suitable for your own furniture.
3. Polished. Find a cuboid that can be held by your hand. Wrap one of the relatively flat sides with sandpaper, press it with your hands, and polish it. The order of the direction of polishing the plane is: first horizontal and then vertical. When sanding, go up first, then go down, outside first and then inside. The choice of sandpaper is coarse first and then fine. The corners, shapes, and details of the furniture must be done by hand. ps: Why sanding: On the one hand, it is to remove the impurities on the original paint and paint surface, and on the other hand, it is to increase the adhesion of the new paint.
4. Preparation before painting. After polishing, check whether the furniture is uneven. If there is, use putty to level it and polish it again to a smooth state. Then protect the area around the furniture and the floor to prevent the paint from contaminating these areas. And wipe the furniture with a damp towel with very little water. Stir the bucket of paint evenly with a small stick, and do not move your hands too fast to prevent splashing.
5. Painting with paint. Dip a little paint with a paint brush and apply it to the painted surface of the furniture to see if there is any chemical reaction. If not, proceed to the next step. Then use a brush to spread the paint, spread it out, brush it next to each other, don't brush it one by one. The paint layer should not be thin or thick. If it is thick, there will be water ripples or small bumps formed by the paint. Don't expect to paint the effect and color you want on the first pass. It is recommended to go from the inside to the outside. If the inside is not well painted, no one will see it. If the surface is not well painted, it will be difficult to see. After the first brushing, let it stand for two or three hours, and gently touch the paint surface with the back of your finger to feel dry and non-sticky. Paint it a second time. After the second painting, the paint is thoroughly dried and then dipped in water with very fine water sandpaper to polish the surface. The main thing is to remove water ripples and paint bumps. And prepare for the varnish painting.
6. Paint layer protection Generally, after finishing painting, the furniture should be painted with varnish to protect and brighten the paint layer. The varnish is also applied in the same way as the paint, but the amount of paint stained with each paint brush is less. No matter how many times I waved my wrists to spread the varnish. It is recommended that the varnish is at least twice, if there is a phenomenon of brush shed hair, be sure to deal with the shed hair in time. The varnish is only applied to the surface of the furniture, not the inside. 7. Finishing Be sure to wait for the paint to dry before removing the protection around the furniture, and seal the remaining paint, and place it in a place that is not easy for children to touch.
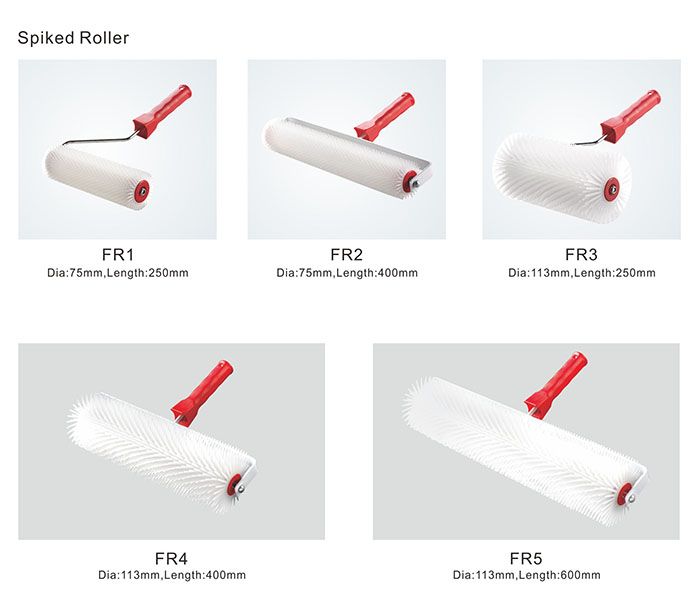
Spiked Aeration Roller is usually used to remove air bubbles from cementitious adhesive when brushing paint; Our Spiked Roller is suitable for epoxy floor coatings and self-level screeds, the effect will be better. The bubble remove paint spiked roller designed with 11 mm teeth height. Spiked roller is made of polyester roller, plastic handle, and metal connecting rod.
None


