How do wood graining tools create realistic wood effects
How Wood Graining Tools Create Realistic Wood Effects
Creating authentic wood effects can be a daunting task for DIY enthusiasts and professional decorators alike. Users often struggle with achieving a natural look, overcoming the limitations of traditional painting techniques. This article addresses these pain points by introducing effective wood graining tools, such as those offered by G.SB, which are designed to mimic various wood types accurately. We'll explore real-life user experiences and provide step-by-step guidance on how to utilize these tools to solve your wood effect needs.
Required Preparation for Wood Graining Projects
Before diving into your wood graining project, it's important to prepare adequately to ensure the best results. Here’s what you need:
- Materials: High-quality paints or stains, preferably oil-based, which have a slower drying time and allow for better blending.
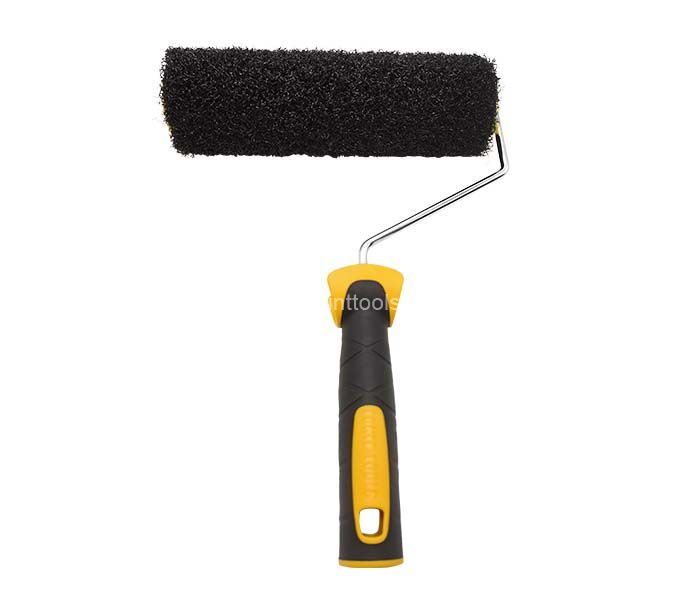
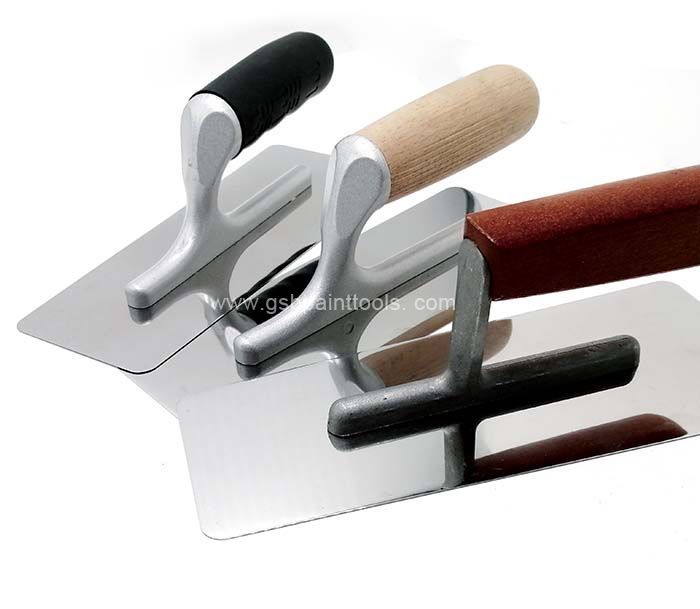
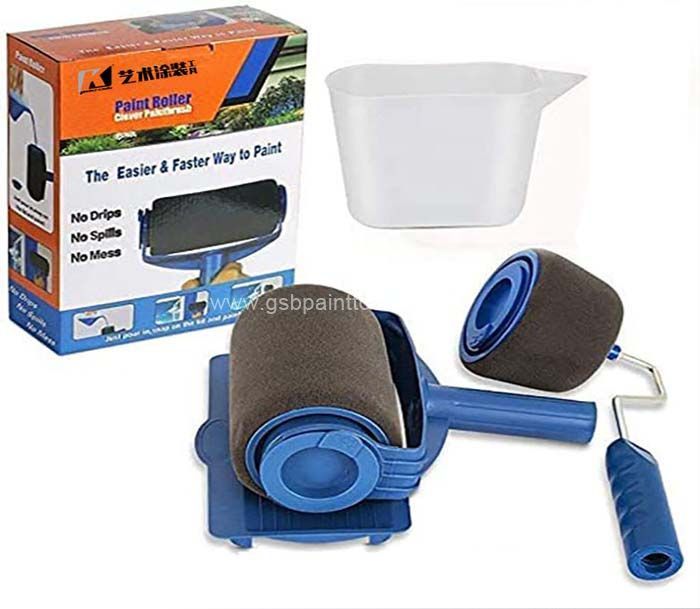
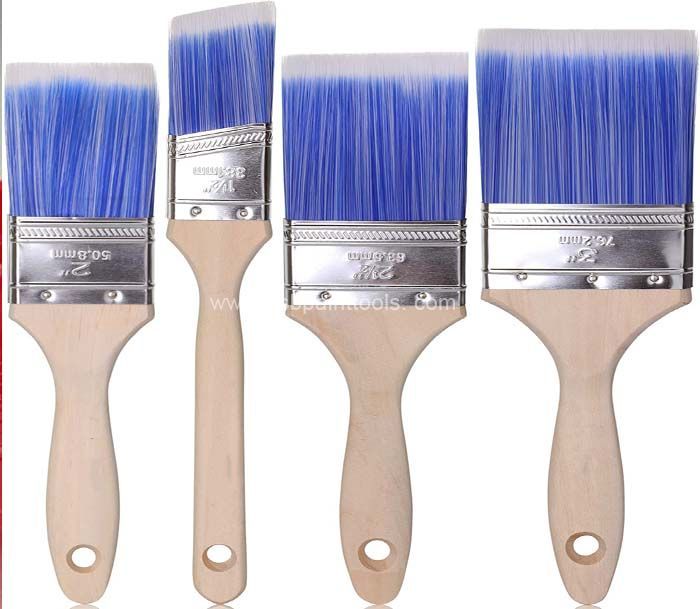
- Tools: A set of wood graining tools, such as the G.SB Imitation Wood Grain Effect Brush Set, which offers various shapes and sizes for detailed work.
- Surface Preparation: Make sure the surface is clean, dry, and smooth. Sand any rough spots and apply a suitable primer to enhance paint adherence.
Step-by-Step Guidance to Achieve Stunning Wood Effects
1. Choose Your Base Layer
Select an appropriate base color for the wood effect you want to create. For example, a light tan can simulate oak, while a rich, dark brown may emulate mahogany.
2. Apply the Base Coat
Using a high-density roller or wide brush, apply your chosen base coat. Be sure to cover the surface uniformly. A measured 80% coverage is recommended to prevent uneven absorption.
3. Allow Drying Time
Let the base coat dry for at least 4 hours, depending on humidity and temperature. Using a fan can expedite drying time by 30%.
4. Prepare the Graining Tool
Choose your G.SB wood graining tool. Different tools will give you various effects. For instance, a comb tool can create a flake pattern while a rocker tool mimics the appearance of wood grain.
5. Mix Your Graining Paint
Mix your top color with a glazing medium, which extends drying time and improves blending. A typical ratio is 1 part paint to 2 parts glazing medium.
6. Create the Wood Grains
With your graining tool dipped in the paint mixture, start at one end of the surface and drag the tool across to create the wood grain effect. Repeat this process until you cover the entire area.
7. Blend and Smooth
To create a more natural look, you can lightly brush over the fresh grain with a clean brush. This technique softens the grain pattern and enhances realism.
8. Final Drying
Allow your project to dry completely before applying a protective clear coat. This will preserve the finish and ensure durability.
Common Errors and Solutions
Many users make mistakes during wood graining, leading to less-than-ideal results. Here are some common errors and their solutions:
- Error: Uneven color application. Solution: Ensure your base coat is applied uniformly and avoid working in direct sunlight.
- Error: Grains are too pronounced. Solution: Use less pressure with the graining tool and blend more with a brush.
- Error: Paint dries too quickly. Solution: Consider extending the drying time with a glazing medium, or work in cooler conditions.
Summary and Suggestions
Utilizing wood graining tools such as those from G.SB can significantly enhance the quality of DIY projects, allowing you to achieve professional-looking wood finishes. Remember to prepare adequately, select the right materials, and follow detailed steps to perfect your technique. If you encounter problems, refer to common errors and solutions to refine your approach. Practice makes perfect, so don't hesitate to experiment!
Frequently Asked Questions
Q1: How long does a wood grained finish last?
A: When properly sealed, a wood grained finish can last several years, depending on the environment and usage.
Q2: Can I use water-based paints for graining?
A: While possible, oil-based paints are recommended for their slower drying time, which allows for better blending.
Q3: How do I clean my wood graining tools after use?
A: Clean your tools with solvent to remove paint, and follow with soap and water to ensure they remain in good condition for future projects.