How do wood graining tools create realistic wood effects
How Wood Graining Tools Create Realistic Wood Effects
Many DIY enthusiasts and professional painters struggle to achieve realistic wood finishes on their projects. The desire to replicate authentic wood textures without the cost or waste associated with actual wood has led to an increased interest in wood graining tools. Users often face challenges such as time constraints, expensive materials, and lack of proper techniques. The demand for an efficient solution that can mimic the look of wood through factors like durability and aesthetic appeal brings forward the advantages of tools like G.SB's innovative wood graining products.
Required Preparation for Wood Graining Techniques
Before diving into the application of wood graining tools, gather the necessary materials and tools:
- Materials Needed: Choose high-quality base coats, glazes, and topcoats. For example, G.SB offers a versatile water-based wood glaze that dries quickly (typically within two hours).
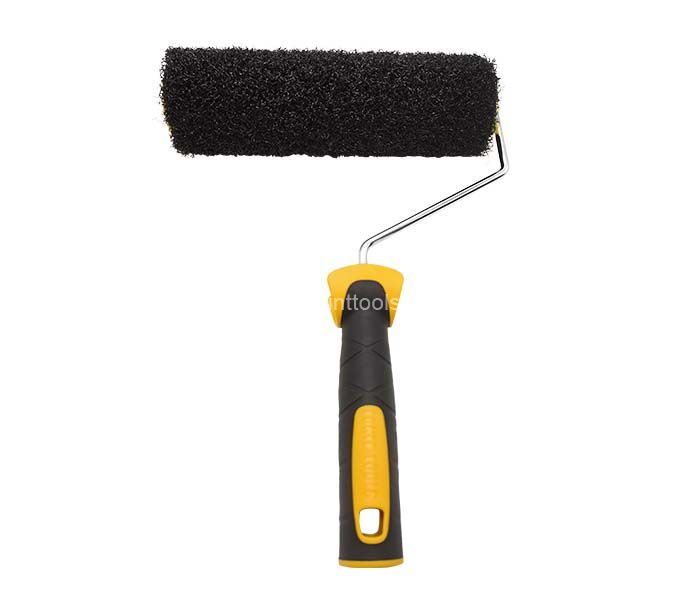
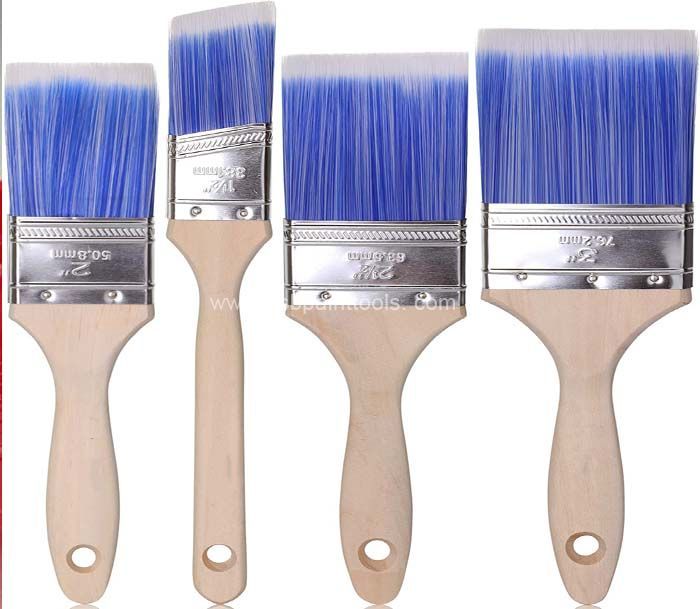
- Tools Required: Essential tools include G.SB's wood graining tool kit, which features brushes, combs, and rollers specifically designed for creating realistic patterns.
- Workspace Preparation: Ensure a well-ventilated area with a dust-free surface to prevent contaminants from affecting your finish.
Step-by-Step Guidance
Follow these detailed steps to effectively use wood graining tools:
- Step 1: Base Coat Application - Begin by applying a solid, even base coat. A high-quality primer aids adhesion and can be dried in as little as 30 minutes.
- Step 2: Mixing Glaze - Mix your G.SB wood glaze according to the manufacturer's instructions. A ratio of 3:1 glaze to water usually yields optimal transparency and depth.
- Step 3: Tool Selection - Choose the right graining tool, such as a fine-textured comb for delicate lines or a brush for broader strokes.
- Step 4: Application Technique - Apply the glaze using your chosen tool, starting from one corner and working your way across the surface. Practice feathering the edges for a seamless transition.
- Step 5: Drying Time - Allow the glaze to set without touching it for about one hour to prevent smudging. This time can vary, depending on the thickness of your application.
- Step 6: Final Touches - Finish with a water-based topcoat to seal the design. Studies have shown that a proper seal can increase durability by up to 50%.
Common Errors and Solutions
Despite careful preparation, users might encounter common errors while using wood graining tools:
- Issue: Uneven Texture - Solution: Ensure that your base coat is completely dry before applying the glaze.
- Issue: Smudged Design - Solution: Work in smaller sections, allowing the glaze to partially dry before manipulating it.
- Issue: Fading Colors - Solution: Use a UV-resistant topcoat to preserve the vibrancy of the wood effect over time.
Summary and Suggestions
Utilizing wood graining tools effectively can transform ordinary surfaces into beautifully textured finishes. The critical factors to remember include the right materials, methodical preparation, and a little practice to overcome common pitfalls. Don't hesitate to experiment with various techniques to discover what works best for your specific project.
Frequently Asked Questions
- Q: How long does the entire wood graining process take?
A: Depending on drying times and complexity, the complete process can take anywhere from 3 to 8 hours. - Q: Can I use wood graining tools on surfaces other than wood?
A: Yes, these tools can be used on metal or plastic as long as you use the appropriate base and topcoats. - Q: What's the biggest advantage of using G.SB wood graining tools?
A: G.SB's tools are designed for efficiency and quality, enabling users to achieve results comparable to real wood at a fraction of the cost.