How do wood graining tools create realistic wood effects
When I first ventured into the realm of decorating walls with faux wood finishes, I found myself at a crossroads, overwhelmed by conflicting advice. However, using wood graining tools effectively to create realistic wood effects can be straightforward if one follows clear, actionable steps. In this article, I will guide you through a practical application of how to achieve stunning wood effects using tools like G.SB’s imitation wood grain effect tool wholesale. Whether you are a DIY enthusiast or a professional looking to enhance your projects, these techniques will address common challenges faced during execution.
The mission is to transform your surfaces into aesthetically pleasing wood-like textures that not only elevate your aesthetic but can positively impact your business's appeal to customers seeking sophistication without the hefty price tag.
Step 1: Preparing the Surface
Before you begin the wood graining process, the first crucial step is preparing your surface. Ensure that the base is clean, smooth, and free of debris. This can be achieved by following these actions:
- Clean the surface thoroughly with a degreaser.
- Sand any rough areas to a smooth finish, ideally aiming for a precision of 0.01mm for best results.
- Apply a primer suited for the surface type, ensuring adherence and longevity of the finish.
Challenges to Consider: During preparation, you might encounter uneven surfaces or existing paint that doesn’t bond well. Should this occur, sanding and possibly using a filler to create a smoother base can resolve these issues.
Step 2: Selecting Your Wood Graining Tool
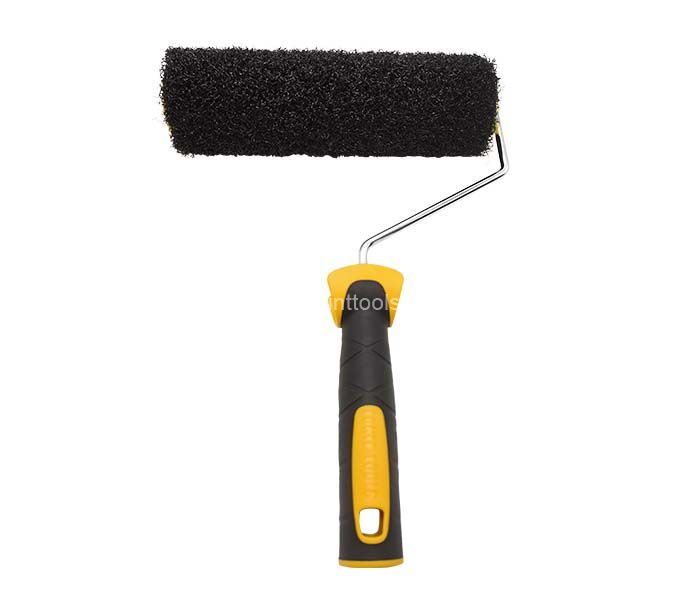
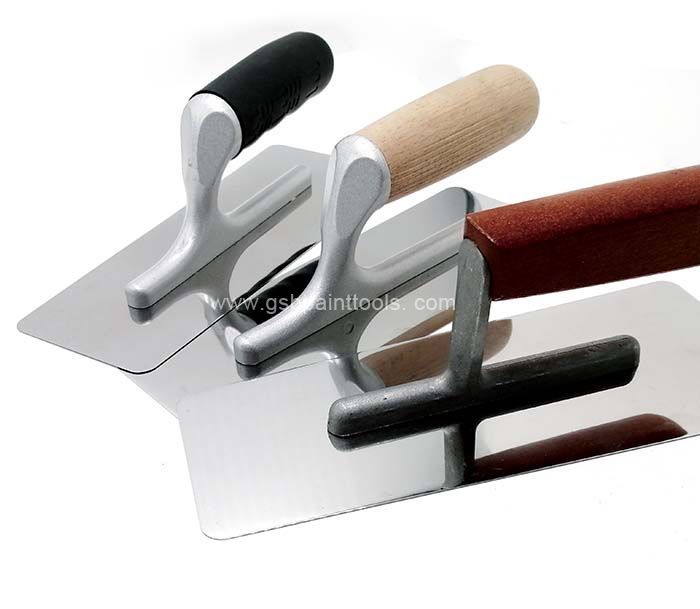
Once your surface is prepped, it’s time to select your graining tool. I highly recommend G.SB’s imitation wood grain effect tool wholesale, known for its versatility and durability. This tool allows for varied wood textures, ensuring you can customize the appearance to match different wood types.
Pro Tip: Always test your tool on a piece of scrap material to ensure the desired effect.
Step 3: Applying the Base Coat
Next, we will apply the base coat. I typically use a paint that mimics the wood color I wish to achieve. Follow these guidelines:
- Choose a high-quality acrylic or oil-based paint, as these can provide richer finishes.
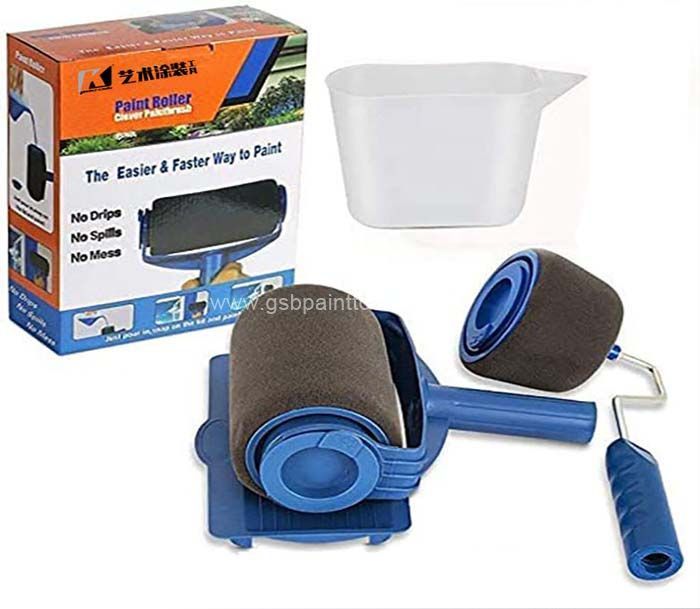
- Use a roller or brush to apply the base coat smoothly and evenly.
- Allow sufficient drying time, typically 24 hours, before proceeding to the next step.
Potential Pitfalls: Uneven coat application can lead to inconsistencies. Utilize a level applicator for even paint layering to mitigate this.
Step 4: Creating the Grain Effect
Now comes the exciting part—creating the wood effect! This step requires your G.SB tool:
- Using a foam brush, apply a contrasting glaze over the dried base coat.
- While the glaze is still wet, drag your wood graining tool through to create the grain pattern you desire.
- Experiment with different pressures and techniques to mimic various wood grains and knots.
Challenges: Timing is critical here as the glaze must be wet for the tool to create a workable pattern. If the glaze dries out, reapply more glaze in sections to maintain workability.
Step 5: Sealing the Finish
After the wood effect is established, sealing your finish is imperative for durability. Here’s what I do:
- Choose a clear polyurethane sealant that matches your desired sheen (matte, satin, or glossy).
- Apply with a clean brush or roller in even coats.
- Depending on the product, follow manufacturer recommendations for drying and reapplication times.
Resources for Efficiency
To assist you in this process, consider using:
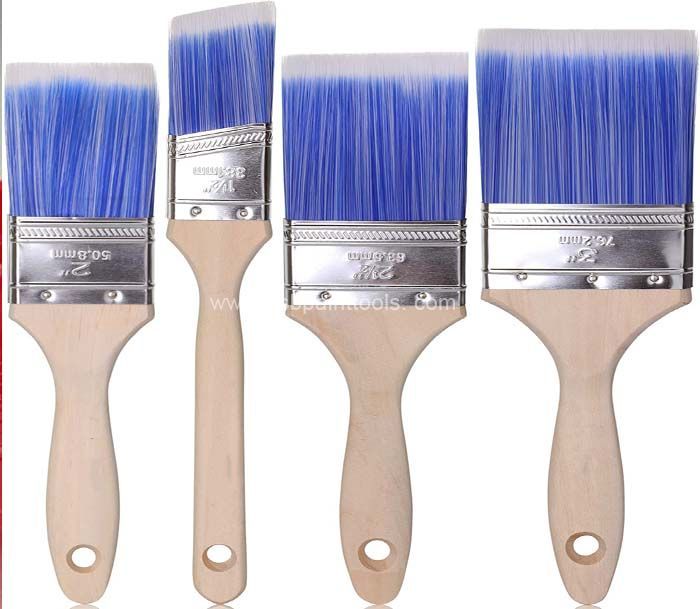
- Quality brushes and rollers specifically designed for faux finishes.
- Rollers with a fine nap that can better hold paint for a smoother application.
- Online tutorials that demonstrate techniques for utilizing different graining tools.
Conclusion: Your Path to Realistic Wood Effects
As you embark on creating stunning, realistic wood effects with G.SB’s imitation wood grain effect tool wholesale, remember to keep your preparation thorough and your techniques consistent. This method can effectively solve user problems regarding cost and aesthetic appeal, providing a high-end look at a fraction of the price.
- Prepare the surface thoroughly.
- Select suitable tools—G.SB at your side.
- Apply a well-dried base coat smoothly.
- Create the desired wood effect with precision.
- Seal your masterpiece to cabinets or walls to ensure longevity.
Don’t hesitate; take action today to revamp your space. Embrace the artistry of wood graining, transforming any surface with the innate beauty of wood—all while enhancing your business's allure!