Step-By-Step Guide: How to Use Self-Leveling Compounds for Flooring
Wondering how to achieve a flawlessly level floor surface? Self-leveling compounds are your answer. These compounds are a game-changer in the world of flooring, providing a smooth and even foundation for various flooring materials. Follow this step-by-step guide to learn the ins and outs of using self-leveling compounds effectively.
Step 1: Surface Preparation
Before diving into the self-leveling process, assess the floor surface. Remove existing flooring and address any cracks or imperfections. Thoroughly clean the surface to ensure it is free from dust, debris, and contaminants. A well-prepared substrate is crucial for the success of the self-leveling application.
Step 2: Gather Materials and Tools
Gather the necessary materials and tools for the job. This includes a self-leveling compound, a clean mixing bucket, a drill with a mixing paddle, a gauge rake, a smoothing tool, and a primer suitable for your chosen flooring type. Having all the supplies at hand streamlines the process.
Step 3: Apply Primer
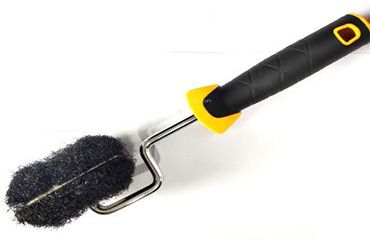
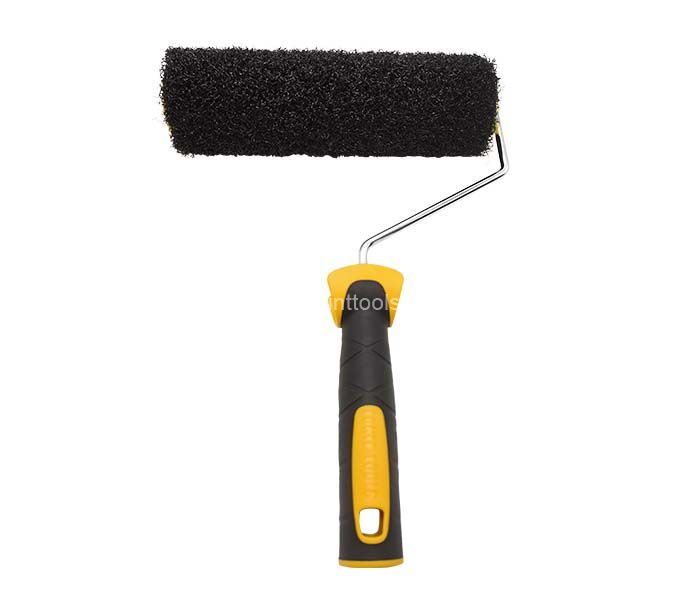
Enhance adhesion by applying a primer to the prepared surface. Use a roller or brush for an even coat. Follow the manufacturer's instructions regarding drying time. The primer acts as a bonding agent, ensuring a secure connection between the self-leveling compound and the substrate.
Step 4: Mix the Self-Leveling Compound
Follow the manufacturer's guidelines for mixing the self-leveling compound. Combine the compound powder with water in the mixing bucket, utilizing a drill with a mixing paddle. Aim for a smooth, lump-free consistency. Take note of the pot life – only mix what you can apply within that timeframe.
Step 5: Pour the Compound
Commence pouring the self-leveling compound in a corner farthest from the exit. Allow the compound to flow naturally across the floor. Use a smoothing tool or a long-handled squeegee to guide the compound, ensuring even distribution. Work efficiently to avoid premature setting.
Step 6: Spread and Level
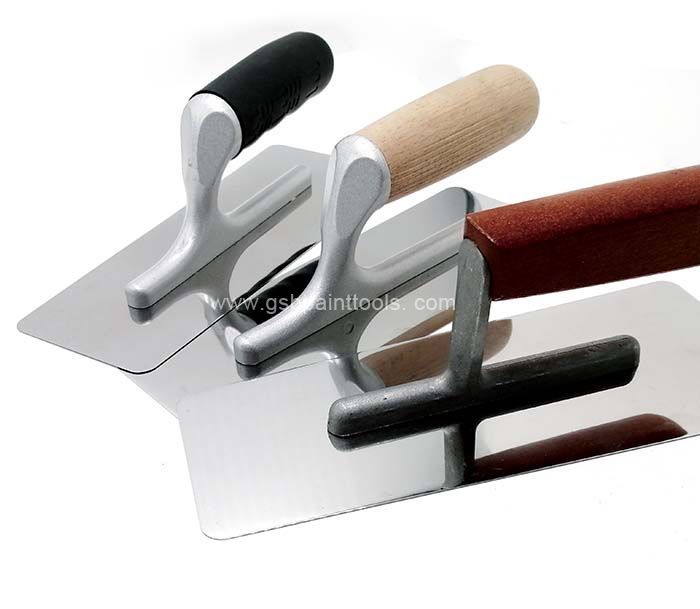
Utilize a gauge rake or smoothing tool to spread the compound evenly. Pay special attention to areas requiring additional compound for the desired level. Work methodically but avoid overworking the material, as this can affect its self-leveling properties.
Step 7: Allow for Drying
Patience is key. Allow the self-leveling compound to dry completely. The drying time depends on the product and environmental conditions. Adhere to the manufacturer's recommendations for the suggested curing period before moving forward.
Step 8: Install Final Flooring
With the self-leveling compound cured, proceed with installing your final flooring material of choice. The level surface created by the compound provides a stable foundation for a seamless and durable flooring installation.
Conclusion
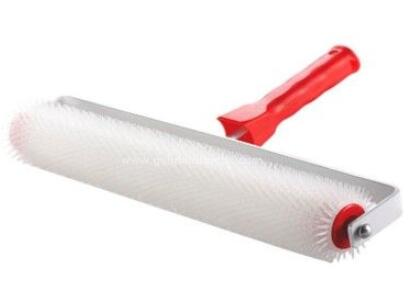
In conclusion, mastering the use of self-leveling compounds involves meticulous surface preparation, precise mixing, and careful application. By following this step-by-step guide, you can ensure a smooth and level floor, paving the way for a successful and professional flooring installation. We are a self-leveling spiked roller supplier. If you are interested in our products, please contact us now!


