5 Very Most Common Problems When Painting a Floor!
If you are planning to paint a floor then it will be well worth your while to take note of the 5 most common mistakes:
The most common reason for the failures and/or bad finishes of an epoxy coating is the lack of preparation. Many times people simply hope to have a wonderful looking floor without truly appreciating how important it is to prepare the concrete properly.

1.Contamination
A lot of people refer to surface contamination and whilst of course it is very relevant, the surface is only what you can see. What about the contamination of the substrate?
Concrete is like a sponge. It is full of air holes. Should you tip a bucket of water onto unsealed concrete and probably 95% will disappear into the concrete! This is all very well when referring to water. The water will rise and evaporate over the next few days and the floor will become perfectly dry.
However, spill oil onto an unsealed floor and this is can never be fully eradicated. Should you clean the top surface and leave for two weeks, the oil from within the substrate will simply rise and the surface becomes as black as it was in the first place.
To solve this problem use Polycote OT primer. This is indeed a twin pack epoxy, but one that has been specifically formulated to fully adhere to and seal, oily surfaces.
2.Loose Surfaces
A lot of people will say that their floor is solid and ready to paint. Many will say that it is brand new power floated concrete and think they have the very best surface to paint. Unfortunately, this is not ture.
In order to get the smooth finish, all the ‘fines’ are worked to the surface and basically, the finer the material, the smoother the floor and of course, this is the dust that is coming off the surface. This fine layer can actually be very weak.
If you think that your floor is dust free, simply brush the surface hard with a stiff broom back and forth on the same piece 5 or 6 times, run the palm of your hand over the surface and now look at you hand. In over 99% of cases, you palm will be covered in a very fine layer of dust. Should you not remove this weak laitance, THIS is what you paint is going to stick to.
When the coating fails – and everybody blames the paint – well, simply peel the paint off the surface, turn it over and look at the back. It will be very clear the paint has adhered wonderfully to your concrete – you will see 100% adhesion on the back of the sample. Unfortunately the fact is that it will be your concrete that has delaminated and NOT the paint.
3. Rising Damp
This common mistake usually happens from not allowing the concrete to dry sufficiently, the pouring of the concrete. There are numerous ways or theories as to how long you should leave freshly laid concrete before painting. The reason for this is that ALL are dependent upon at least three factors; a) thickness of concrete, b) temperature and c) humidity levels.
The second common mistake in relation to dampness is application of a paint after a liquid chemical preparation has been carried out. These chemicals are normally water based and sufficient time must be allowed for the concrete to dry prior to application of the said paint.
Again, this period of time is entirely dependent upon both the atmospheric temperature and humidity, PLUS consideration needs to be given to the porosity of the concrete and the amount of water allowed to soak in. Of course this can have a huge influence on the amount of time the substrate will take to dry as will of course whether or not an Aquavac be used to dry up/remove as much of the liquid as possible.
When all is said and done, some water based epoxies and primers allow for application to concrete that may still be damp. If moisture IS trapped in the pores of the slab, they will mostly rise to the surface and end up creating unsightly bubbles in the finish.
4.Removal of Existing Coating
Many people simply wish to re-coat their floors. This is mostly due to the existing coating flaking, bubbling, lifting, but may be due to the existing coating being worn and tired.
One big mistake of many is to simply wish to overcoat what they have now and everything will be bright and ready. No sooner have they completed the task, they then walk/drive onto the floor and find the first use simply lifts the paint off the floor!Oil, waxes and chemicals can often be seen on the back of the sample piece and/or can mostly been seen clearly on the concrete surface itself.
If it be rising damp, again, the darkness of the floor from which the paint has just been removed will be darker than the surrounding previously exposed concrete. This is simply because the air has been allowed to get to the previously exposed areas and has allowed the dampness to rise and evaporate.
5.Temperature and Humidity
Products applied at a temperature too low may never cure or at the very least will take far longer. The fact that it does hold back the curing of the product will mean that you will never achieve the correct hardness and this will inevitably reduce the longevity of the coating.
At the opposite end of the spectrum, take great care when applying in hot temperatures as this will greatly reduce the pot life. Should you be in awkward areas or in hot conditions, then it may well be advised to split the unit down but whatever you do, PLEASE make sure you split them correctly.
High humidity levels can cause a thin film of moisture to settle on the surface of the concrete that you more than likely cannot even see. This can result in the coating bubbling due to trapped moisture, an orange peel effect and even the ultimate problem being delamination.
Should this humidity settle on the uncured resin, immediately after application, this can also cause the colour to blush. Should this happen, it may well not actually cause any great detriment to the coating other than the aesthetic appearance and this blushing can often be ‘washed off’ with warm soapy water.
However, whatever you do, please make absolutely sure the coating has had time to fully cure before washing. Alternatively, if you can live with the appearance, this blush can often disappear through natural wear and tear.

About epoxy paint
Epoxy is our most hard-wearing and durable floor coating. If you are planning to use a epoxy top-coat, please ensure that you use the epoxy floor sealer as the primer coat. This is the only compatible first coat. Any other products will not cross-link with the epoxy top coat and you will risk running into problems.
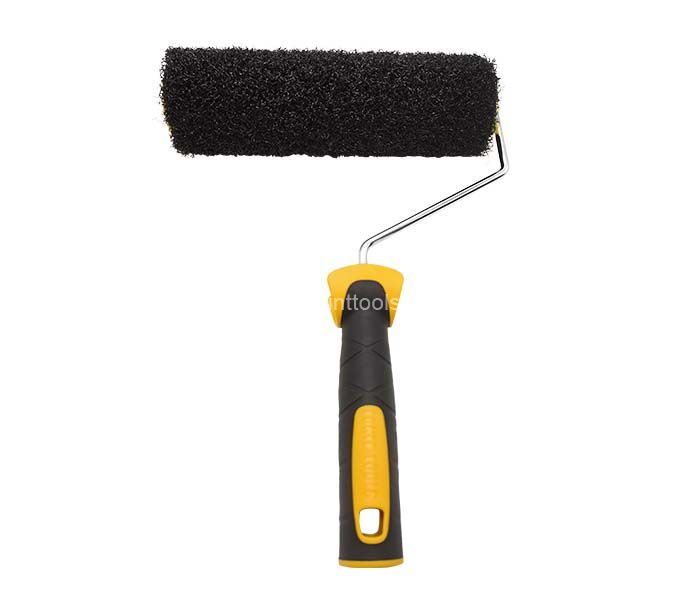
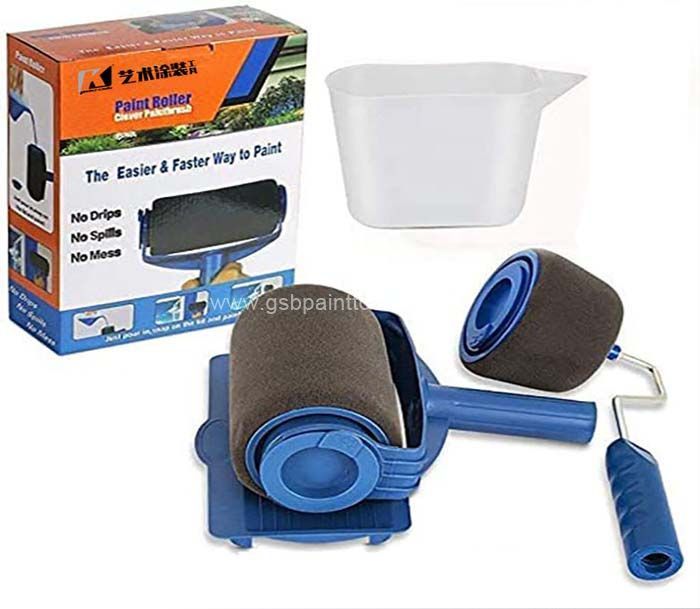
What do I apply epoxy paint with? You do not need to use a roller tray. Apply the paint by pouring directly onto the floor. Use specialist floor roller-sleeves and frames. Do not use ordinary wall-rollers from a DIY shop as they will not have solvent resistance and may disintegrate. You may also want to cut in the edges using K brand floor paint scraper.
As soon as the can of activator is poured into the epoxy resin, the curing process will begin. The pot life is up to 4 hours, giving plenty of time to pour and roll the paint out onto the floor. If you leave the mixed epoxy in the can for more than this period of time, it will cure and will solidify in the can. Please ensure you use the epoxy correctly.

About K brand floor paint scraper
Worked as expected for epoxy. Used K brand floor paint scraper on epoxy and it came out like you would have expected. It takes a lot of work and patience to get the epoxy to move. Used it to lay out epoxy on floor. Serrated side for evening out and the solid side is good for moving the material around. This is the right tool for the job.
Tips: If you're using a real epoxy 100% solids - get some Xylene and some good rubber gloves to clean up with.