What you need to know about the painting process?
Painting is a very common project in renovation and is one of the most important processes in renovation. The painting process in the interior decoration in the late construction, mainly engaged in wall painting, floor painting, ceiling painting, furniture painting and so on. The first and foremost of the oiling process is the leveling treatment of the base.

How to paint the interior of home
1. The wall must be flat
To begin, move everything out of the room. Every painter we spoke with had a horror story about the time he didn't follow Rule No. 1. Bigger pieces of furniture can sometimes be left covered in the center of larger rooms, but if you are repairing drywall, Take everything out. Drywall dust goes everywhere.

Remove doors, light fixtures and hardware, and label everything with masking tape. Also, invest in drop cloths. Buy high-quality drop cloths, such as canvas or paper-backed plastic. A note that, paint soaks right through lightweight fabrics and bedsheets. Plastic sheeting works, but it's very slippery and doesn't absorb drips.

The wall base is cleaned and leveled, and it is best to sweep it thoroughly. Level the surface of the wall, sandpaper the base of the wall, then use a brush to clean the surface of the base layer with floating dust, so that the wall must be flat, no floating dust, debris and water damage…etc.
Tools: trowel, brush and sanding paper
2. Find, Then Fix, Cracks and Dents
Even an old lamp with a bare bulb held close to a wall will make minor cracks, bumps or nail pops jump out. For damaged trim, he uses painter's putty or a two-part wood filler. Smooth any repairs, bumps, and nibs with a drywall pole sander.

For smoother walls and better adhesion, some of our pros sand all previously painted walls regardless of the shape they're in.
Tools: Putty knife, trowel knife and wall filler adhesive
3.Do the Sanding Two-Step
Sanding not only feathers out chipped paint but also provides "tooth" for the next coat of paint. For glossy trim, use a sanding sponge rather than sandpaper. Sponges mold to the shape of the trim and last longer than paper. When applying latex over alkyd paint or when our is not sure of the original finish, follows the hand-sanding with liquid sandpaper to make sure the surface is completely deglossed to prevent incompatibility problems.
Filling gaps with a paintable acrylic-latex caulk cuts down on drafts and makes your trim look better than new. The secret to using caulk is to cut the tip smaller than you think it should be; too much caulk makes a mess.
Tools: Putty scraper, corner trowel and sandpaper
4. Topcoat finishing process
Primers aren't just diluted paint. They're formulated to establish a solid, even base, seal stains and ensure that the topcoats of paint go on smoothly and bond securely to the surface. Most homeowners use latex primers, but the pros stick to alcohol and alkyd primers because they'll cover almost anything.
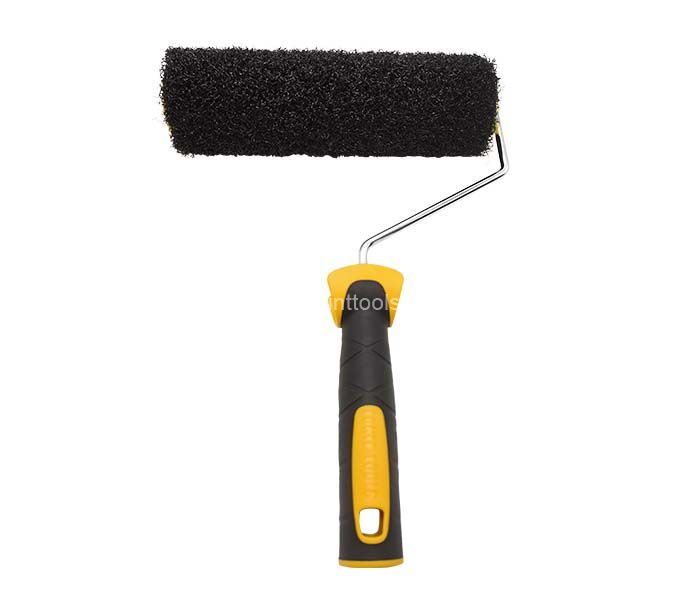
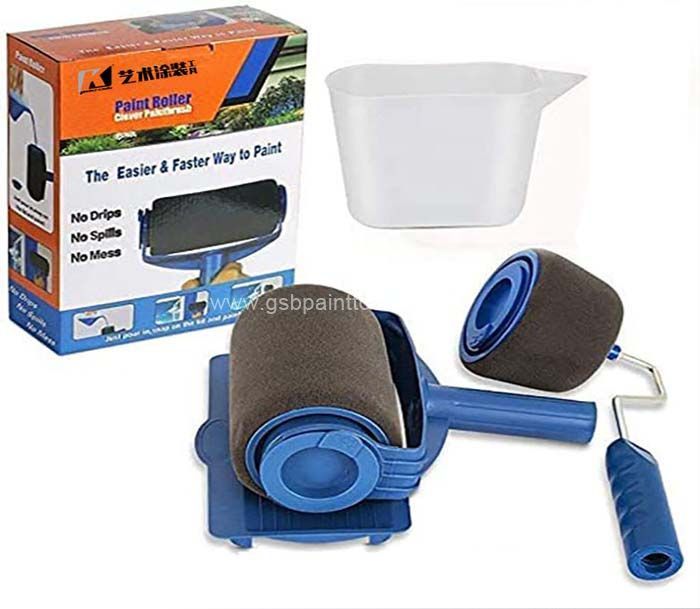
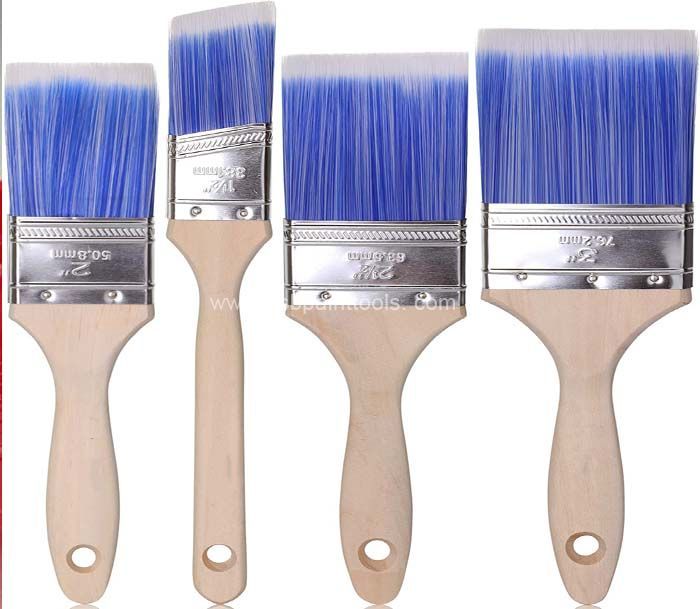
Wall finishing "top coat" can be said to be the last step of interior decoration. The most common process is to use an art paint spatula to flatten the wall, or use a roller brush to paint the wall directly with art paint.

Tools: Roller brush, art paint spatula and bristle brush
K brand art painting tools recommended