9 Tips to Make Painting Easier

When painting, mistakes can easily happen and the paint ends up where it doesn't belong, for example on the door frame or the baseboard. This is annoying – but also avoidable. Here you can find out which tricks help when painting and how to proceed more efficiently.
At the latest when moving out of the apartment, many people paint their walls white. But painting is also a typical activity when renovating. However, this is often more difficult than you think – at least if you are not properly prepared. Because the clean masking is important, but takes almost as much time as the actual work. A few tricks make painting easier. This can be used, for example, to avoid unwanted splashes of paint - and the work materials can also be used again if they are cleaned properly.
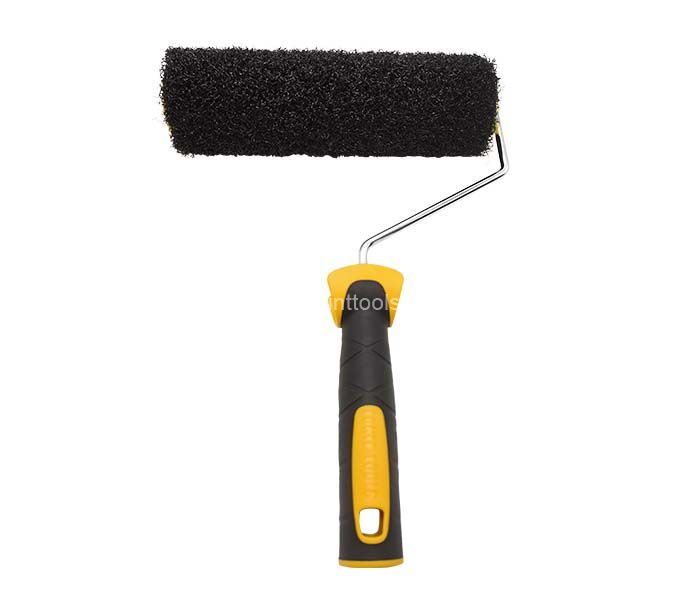
1. Moisten the paint roller
When you dip a new paint roller in the paint, often hardly anything sticks to it. This cannot happen if you moisten the roll beforehand. This way it will absorb the color better. But be careful: the roller must not be wet under any circumstances, otherwise the paint will thin and no longer cover.
2. Avoid paint odor when painting
If you paint a room, you often have to be prepared for a penetrating smell of paint in the apartment. Unless you can avoid it with a simple trick: Simply put some liquid baking flavoring or liquid vanilla extract in the paint bucket and mix well. The color then takes on the smell, but is not affected in terms of opacity or color tone.
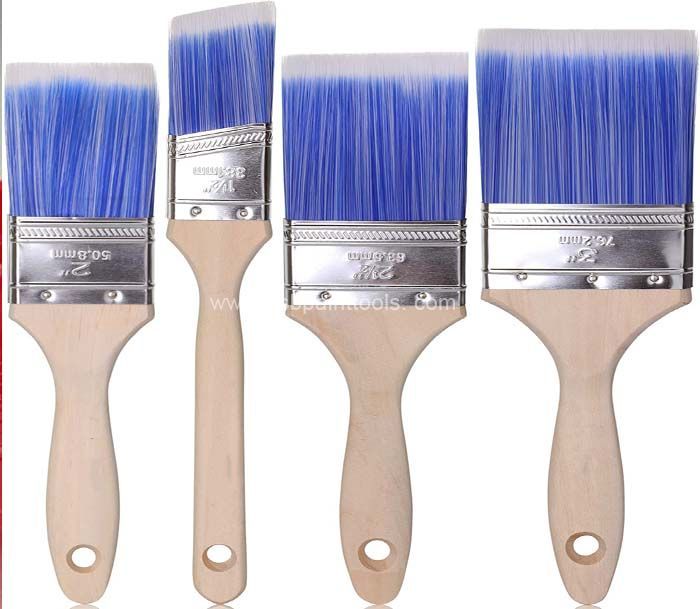
3. Prepare new brushes and rollers
When first used, new brushes can shed hairs that stick to the newly painted wall. Therefore, pull the brushes over sandpaper before painting. The loose hairs get caught on it. It's similar with paint rollers: they can fuzz. Here, however, no sandpaper will help, but a simple lint roller.
4. Proper masking
It is well known that strips, door frames, light switches and sockets have to be masked off. But many use the wrong masking tape. Wallpaper crepe is recommended for wallpapered walls - it is easier to remove. When painting, you should use painter's paint tape. When removing the masking tape, be careful not to pull it straight but at a slight angle. If it doesn't come off easily, you can warm it up with a hair dryer - after that it should be easier to peel off.
Tip: To ensure that the adhesive tape really protects against unwanted paint, you should press it firmly with a spatula. If the tape isn't flush with the wall or objects, paint may run underneath.
5. Make scrapers yourself
Often one dips the brush into the paint bucket with too much motivation, so that there is too much paint on it. If you wipe the brush on the edge of the can, it can not only splash. The paint can also run down the edge and soil the surface. There's a very simple hack to do this: Wrap a rubber band around the paint can so it's taut over the opening. There you can now wipe off the brush without any problems - without paint going wrong.
6. Equip the paint tray
If you fill the paint tray with paint, it has to be rinsed out thoroughly afterwards - and even then paint residue usually sticks. You can prevent this by lining the tub with foil (an old plastic bag or something similar). After painting, you can simply remove the foil and dispose of it.
7. Store paint rollers properly
Paint rollers are bulky and tend to attract lint and dirt due to their soft surface. There are two easy ways to store them and protect them from dirt for their next use. Either you can wrap the roll in a bag and then put it in an empty chip can. Otherwise you can just wrap an old t-shirt around the roll and fix it with rubber bands.
Tip: If you take a break from painting and then continue to use the roller, you can pack it airtight in a garbage bag for the meantime. Then the paint does not dry out - at least for a few hours.
8. Clean brushes properly after painting
After painting, the used brushes are often placed in a jar of cleaning agent. The problem with this: If the brush stands on its bristles for a longer period of time, they bend or even break off. This is easily circumvented by securing the brush over the rim of the glass with foldback clips. Attach the clips to the brush handle and then simply rest the clips on the rim of the jar. Then it floats in the liquid, so to speak, and the bristles are not stressed.
If you want to clean a brush with dried paint, here's a great hack: Fill a bowl or tub (depending on the size of the brush) with warm water and place a drying cloth in the middle. Now position the brush on the cloth and wait a while. You will see that over time the cloth will take on the color and the brush will be cleaned.
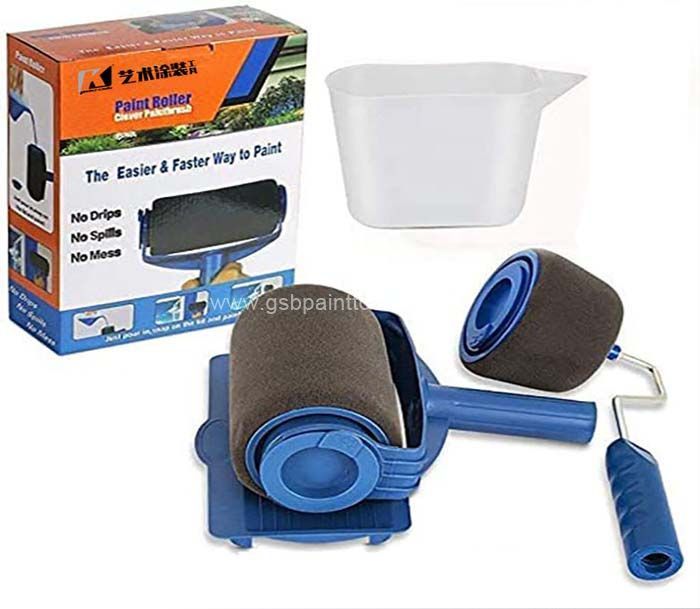
9. Apply with a sponge instead of a roller
If you don't have a roller to hand, but you really want or need to paint the wall, you can use a sponge to replace it. Dip the rough side of the sponge in the paint and apply as usual. But beware: Due to the nature of the sponge, the color result is not really opaque. However, they provide a cool DIY wipe effect.
Painting the Wall: Top tips and Tricks
A fresh coat of paint makes a room look fresh again. However, you do not have to bring an expensive painter and varnisher into the house for this. With our tips and tricks you can achieve a good result yourself.
Paint over old paint
If there is already paint on the wall that you want to paint, you should check in advance whether the paint is firmly attached. The easiest way to do this is to stick an adhesive strip to the wall and then pull it off with a jerk. If no paint sticks to the adhesive strip, everything is fine. However, if paint remains on the adhesive strip, you must first remove the old paint and then prepare the wall accordingly for painting, for example with Tiefengrund.
Paint over lime paint
Lime paint cannot simply be painted over with dispersion paint. Therefore, the wall must first be washed off with a brush. To ensure that the wall then absorbs the new paint evenly, it should be pre-treated with Tiefengrund before the new coat of paint is applied.
The deep primer also ensures that the wall is less absorbent, so less paint is needed when painting. Walls that you want to wallpaper should also be pre-treated with deep primer so that the wallpaper can be removed more easily after a few years. Anyone who has ever had to remove wallpaper from an untreated plasterboard wall knows that it's no fun.
Paint wallpaper
Painting over woodchip wallpaper and paper wallpaper is usually quite easy and painting over is possible with any wall color. With paper wallpaper, however, bubbles often form after painting, which usually disappear again by themselves. However, if the blisters don't go away on their own, you have to help by cutting open the blister and filling it with a spatula.
Non-woven wallpapers are also widespread. If you want to paint them over, you should first take a very close look at the surface. Smooth surfaces can easily be painted over with dispersion paint. For structured surfaces you should use latex paint that is as viscous as possible.
Wet-on-wet method
The so-called wet-on-wet method can be used to prevent edges from forming when the wall paint is applied. The paint roller is moved on the wall in such a way that it repeatedly paints into the still wet stripes of paint.
The right tool: paint brush or paint roller
When painting, it is best to use both a paintroller and a brush. Roughly speaking, the paint roller can be used to treat large areas quickly and easily. Corners and cracks are easier to reach with a brush. In our blog post on the topic of "painting tools" you will find help for selecting the right paint roller and the right brush.