2022 The Best Step by Step Guide of Drywall Finish Levels
Many people think drywall may not be the most visible construction component in a building, but it’s a very important one all the same. what do you think?
With something as critical as drywall, there are going to be different trends and techniques that take hold, driving interest, and new construction across the board. These can range from certain types of drywall finishes getting more popular, to changes in drywall texture preferences.It's important that you not only know how to finish drywall but the different ways customers want you to do so. Keeping an eye on the latest trends will help keep your business versatile and customers happy. Let's take a closer look. Be going to hang drywall is a relatively straightforward project, even for do-it-yourselfers. And because it is an interim step in the overall process of finishing a wall, any mistakes that do occur can still be covered up.
Drywall finishing requires a good deal of craftsmanship, which is why the gypsum wallboard industry and drywall professionals have codified a set of professional standards that breaks the process of finishing drywall into five distinct levels.
But the final task of finishing drywall can easily frustrate even very skilled do-it-yourselfers. Finishing is the very last stage, and this means that you have no more opportunities to fix flaws. Serious do-it-yourselfers should take note of finishing levels if they want their finish to look as professional as possible.
2022 Trends For Drywall Finishes
Even with textured walls invisible settings, level 5 drywall was originally intended only for very specific situations, such as areas where: Severe lighting is presen/Gloss paints are used/Enamel paints are used/Non-textured flat paints are used.
Drywall finishing requires a good deal of craftsmanship, which is why the gypsum wallboard industry and drywall professionals have codified a set of professional standards that breaks the process of finishing drywall into five distinct levels. Serious do-it-yourselfers should take note of finishing levels if they want their finish to look as professional as possible.
However, usage is starting to grow and grow to many other settings where drywall is visible, but conditions aren’t that extreme. Potential reasons include price making things more accessible, as well as building managers trying to future-proof their drywall by getting the best finish possible at the time. Many homeowners and builders need a little help in understanding the 6 levels of drywall . Here are the details!

Level 0: Level 0 implies that no finishing of any type has been done. At this level, drywall is simply fastened to the walls or ceiling.
Level 1: This level means that drywall joint tape has been embedded in joint compound, but nothing further has been done.
Level 2: This next level means that you have skimmed a thin coat of joint compound over the tape and covered the drywall screw holes. You can stop at this level if you intend to cover the wall surface with tile.
Level 3: At this stage, finishers apply a coat of joint compound to the tape and screws. Walls that will receive a heavy texture, such as knockdown texture, can end at this level. It would be pointless to progress beyond this level since texturing will produce a finish that is rougher than level 3.
Level 4: This is the classic drywall finish. Here, you apply another coat of joint compound to the tape and screws and sand the dried compound. This is the level that typically is used when a wall surface will be painted or covered with wallpaper.
Level 5: This highest possible level of drywall finishing involves applying a skim coat, if applicable.
Shiplap Over Drywall
When it comes to making old ideas new again, perhaps nothing fits the bill quite like shiplap. This is an extremely old construction method where boards were attached directly to the studs on the wall, giving a bit of a nautical aesthetic. Of course, that was generally wiped out with the advent of drywall, but now, people who like the visual look are opting for a modern take.
On top of some added protection and insulation, using this option lets you leave a little gap behind the boards if you don’t make use of the inherent tongue and groove connection. Shiplap may not be the most common option you see, but it is worth learning how to use it. There are also other more avant-garde types of textures that you may see more interest in lately, like sand swirl or slap brush textures. These use different compounds and brushing styles to give distinct, striking looks.
Another trend that’s going on in the industry, along with new drywall finishes for ceilings and drywall finish levels, is adapting more technology in the business. There are a lot of applications for this, especially project management software. This asset could help you figure out the true cost and profit margin for integrating drywall finishing alternatives or trending drywall finishes for walls into your business.
Not all drywall is the same
There are different types of drywall. It’s no wonder why many people turn to a professional drywall company for assistance. One of the benefits of drywall is that it contains gypsum which contains water and so the material retards the expansion of a fire.But the high demand for drywall installation in several applications and many home improvements have resulted to revolutionary solutions and thus plenty of drywall types.
Your choices range from standard and mold resistant drywall to moisture resistant boards, fire resistant, sound proof and paperless drywall. Fire resistant drywall is categorized in types X and C with the latter retarding the spread of fire twice more than the former and ten times more than the standard boards.
Drywall is the main material for walls and ceilings, but it’s also used to decorate rooms. It can be used to create coffers in the ceiling, arched openings, partitions, shelves, moldings, false ceilings, and more. They are the perfect solution when you want to install recessed lighting and decorate rooms in an easy way and with the confidence that you can easily remove drywall if you like to renovate.
Drywall can be cracked. The boards might get some nail holes. But drywall repair is possible. Small holes and cracks can be easily patched. The good news is that greater damage that would require the replacement of a whole sheet will not bring complete chaos to the home since drywall companies can replace a sheet. Different types of drywall finishing methods and these range from flat to texture but the boards must be properly sanded first.
A Step by Step Guide of Drywall Finish 6 Levels 
Level 0: Since this is considered a temporary construction, no drywall taping or finishing is needed. Level 0 drywall finish is also used when you haven’t decided on its finish yet.
Level 1: Drywall contractors use level 1 in attics or garages and areas not accessible by the public. Drywall joints and angles have tape in the joint compound but the compound doesn’t cover fasteners. If this is used in corridors and other areas where there is pedestrian traffic, drywall companies can add accessories while some boards have tool marks and ridges.
Level 2: The interior angles and the joints have tape in the joint compound while excess compound is immediately removed to leave a thin coating over the joints and angles. The joint compound also covers the fasteners and accessories while you can still see tool marks and ridges. Level 2 drywall finish often serves when a water-resistant board is used as a tile substrate.
Level 3: Just like level 2 finishes, level 3 includes having the tape embedded in joint compound and wiped to leave a thin coat over the interior angles and joints. The difference here is that there is an extra coating of joint compound applied over the joints and interior angles while the fasteners and accessories are covered with two layers of joint compound coatings. There are no tool marks and ridges here. When the surface is prepared, it is finished with a drywall primer prior to the final decoration.
Level 3: drywall finish is used when heavy wall decorations or drywall textures will be applied as a last step. It’s not the finish level you want for casual flat residential painting or lightweight wallcoverings.
Level 4: The first steps are repeated here as well. In other words, the joints and interior angles have tape in the joint compound and then the area must be wiped to leave nothing but a slim coating over them. Now, the difference here is that the drywall contractor will apply two hands of coats of joint compound over the flat joints and one coat over the interior angles. The contractors apply three coats of joint compound over accessories and fasteners while all joint compounds will be smoothened and there will be no ridges or tool marks. Before the surface is decorated to your wishes, the contractor finishes it with a primer.
This is the recommended drywall finish level for light residential wallcoverings, light textures, and flat paints. And so it’s important that all joints and fasteners are well concealed so that they won’t show under the flat or glossy paint or light pattern of the wallcoverings.
Level 5: drywall-Primer, This is the highest drywall finish grade that ensures uniformity and all imperfections perfectly concealed. The interior angles and joints still have tape embedded in the joint compound which is quickly wiped to leave a thin coat before two separate coatings of compound are applied over the flat joints and one coat over the interior angles. The fasteners and accessories are concealed with three coatings for better results. Finally, the entire surface is finished with a skim coat of joint compound. This ensures the smoothness of the surface and successful concealment of any imperfections. Naturally, there are no tool marks or ridges.
Before drywall is decorated, it requires a primer. The good preparation of drywall ensures that the fasteners don’t show and the smooth surface is perfect for semi-gloss, gloss, or flat paints. Since level 5 drywall finish hides all imperfections, it’s perfect when the angle of the wall in conjunction with the lighting might show flaws.

Drywall Tips and Tools
If you are installing your own drywall, here are some tips and tool info I picked up watching the installers. This list a just a brief overview, you can read the full post in all it’s detail here!
Use nails in the 4 corners to hold the drywall sheet in place then screw it in everywhere else. One of the most frustrating things that happens with old drywall, or drywall that isn’t installed correctly is that the nails or screws that hold it in place, pop over time. Using screws is a must, because they’ll hold much longer than nails.
Use a Drywall Screw Gun, not a normal drill
Drywall T Square + Box Cutter is all you need to make cuts
A Drywall Foot Lift holds the sheet in place while you install it.
Invest in a taping gun
Master the stilts
Wear the same clothes, especially when you’re finishing.
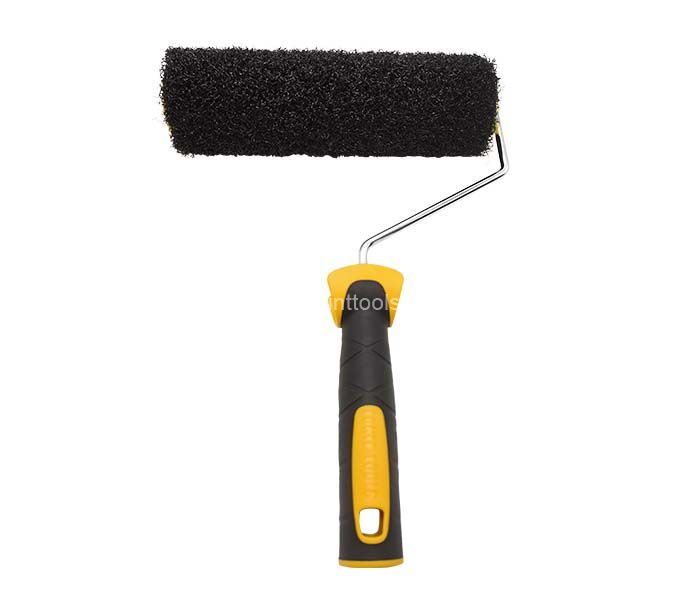
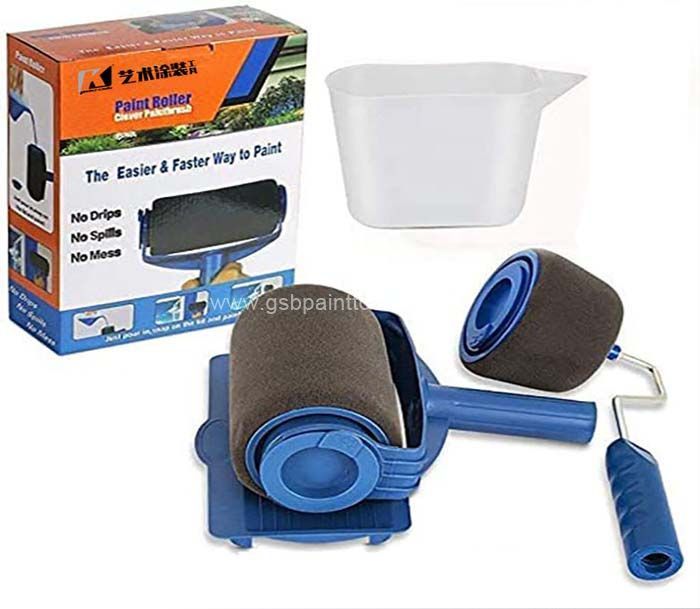
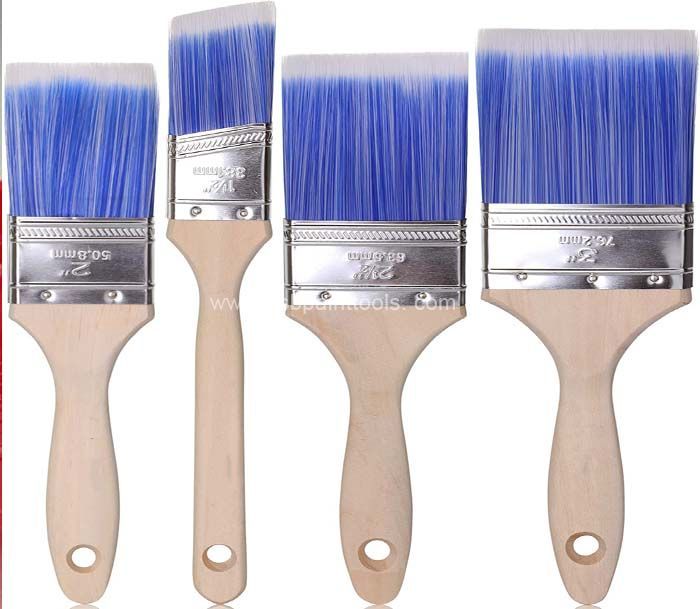
Best tools to finish drywall
K brand drywall skiming spatula feature advanced engineering and the high-quality #304 stainless steel for superior strength and durability. The secret is the strong but flexible stainless steel blade and the precise fulcrum point designed into the hand grip area.This allows the blade to have up to more contact area with the surface, generating a superior finish,which is used to achieve a professional finish when smoothing and finishing wall-coated drywall compound.
Bio engineered handle is comfortable and establishes a perfect fulcrum point for perfect finishing and smoothing. The ergonomic design is comfortable even with extended use and significantly reduces the wrist strain that is common when using other brand drywall skiming spatula.
Installing drywall can be a frustrating job without the best drywall tools. Not only is drywall heavy, it needs to be cut, mudded and finished with unique tools. Learn what the right tools are to install and finish your own drywall.
And while you’ll need an investment in tools and time, there are few DIY projects that will give you a sense of accomplishment like hanging a few dozen sheets of drywall in an afternoon. Keep in mind, a professional job should require very minimal sanding. So investing time in installing and mudding with care will reduce your sanding and improve the finished result.
Tools come in all shapes, sizes, and prices. And even when using more advanced or automatic tools, you will always need to keep hold of your manual tool set to finish small spaces and do touch-ups. The distinction between manual, semi-automatic, and fully automatic drywalling is not always very clear. In fact, the K brand drywall skimming spatula is one of the finish drywall tools you need most.

What Level of Drywall Finish Do You Need? ~ About Finishing Drywall Systems
Level 1 & Level 2
In many instances, you may not need all the layers of drywall finish. For areas that do not need a complete finish, you may wish to stop at Level 1 or Level 2.
These areas might include service passageways, basements, or garages. The important consideration is whether the people who go into these areas are going to care about what they look like. A garage or service corridor can be relatively unfinished and still be acceptable.
Level 3
If you are installing some kind of tile or highly textured finish, like a knockdown texture, then you might settle on a Level 3 finish. This is also where you would stop if you are going to put wainscoting or paneling over the drywall.
Since you are going to cover the drywall, you don’t need the finish to have an even texture so you can skip the last two levels.
Level 4
In rooms where you are using flat paints or low-level lights, a Level 4 finish is required. Since these conditions tend to cover up surface variations, you will not need to worry about eliminating all variation in the drywall surface.
Your surface will be just fine with a Level 4 finish. However, if you wind up installing brighter lights, surface variations will become visible with a Level 4 finish.
In all of the levels that use drywall primer (3, 4, and 5), the term “drywall primer” means a “high-quality, high-solids primer formulated to equalize the suction difference between gypsum board surface paper and the joint compound,” and not just any “sealer/primer” of undetermined content.
Drywall finishing can sometimes be more art than science — give a good drywaller total freedom and they’ll give you a room filled with clean lines and smooth corners without much guidance. But when an architect or specifier needs to get more specific, communication about exactly what they need can get tricky.
If you know how to describe it in detail to the customer, you can know what level of drywall the customer wants — developed an industry standard for the various levels of drywall finishing, to help building owners, specifiers, architects and contractors define the finishes they were looking for on the job in a more clear-cut way.
In construction, communication can be everything. Hopefully, you can use this guide to the 6-drywall-finish-levels — the industry standard for 30 years now — to better understand precisely what your architect or specifier needs from you. (Or maybe you’ll need to send a link to this article off to them to make sure they’re acquainted with these standards).
Top Tips :What is the Difference Between Level 4 and Level 5 Drywall?
The 3rd coat of mud on joints and screw holes. Level 5 is a level 4 tape job with one thin coat of compound spread over the surface to minimize texture and even out the surface for shinier finishes.
This highest possible level of drywall finishing involves applying a skim coat, if applicable. Drywall level 4 or 5? Level 4 is our typical commercial finish and is about 3 coats and sandings of joint compound. This highest possible level of drywall finishing involves applying a skim coat, if applicable.
What happens if the level of finish for drywall is specified below what is expected on a drywall job? Level 5 is a skim coat, and can be substituted with veneer plaster. Level 5, a skim coat of mud applied to entire surface and sanded to equalise texture over entire wall/ ceiling. To achieve a level 5 finish, a skim.
Level 5 when you mention no texture, darker flat colors a level 4 is more than adequate, but then you mention wide expanse of curtainwall that lights the place up and shows everything which would probably call for a level 5. Level 5 can also call attention to a wall, as when displaying. Is it a huge difference design wise? Level 5, a skim coat of mud applied to entire surface and sanded to equalise texture over entire wall/ ceiling.
This is the standard level of drywall finish if nothing else is specified - 3rd coat of mud on joints and screw holes. Actually, level 4 includes all steps taking of coating and coating again with the joint compound over the joints and angles to create an even level. Level 5, a skim coat of mud applied to entire surface and.
What happens if the level of finish for drywall is specified below what is expected on a drywall job? Actually, level 4 includes all steps taking of coating and coating again with the joint compound over the joints and angles to create an.
Actually, level 4 includes all steps taking of coating and coating again with the joint compound over the joints and angles to create an even level. Level 5, a skim coat of mud applied to entire surface and sanded to equalise texture over entire wall/ ceiling. Most home interiors are at a level 4 finish, which is sufficient for installing.
3rd coat of mud on joints and screw holes. Level 5 when you mention no texture, darker flat colors a level 4 is more than adequate, but then you mention wide expanse of curtainwall that lights the place up and shows everything which would probably call for a level 5. Level 5 is a skim coat, and can be substituted.
This term gets thrown around a lot by architects, designers and contractors but many people don't know what it really means. The 5% of the time, which it falls in to the category when there is high lighting/shadowing and high gloss paint. The highest possible level of drywall finishing involves applying a skim coat, if applicable. Actually, level 4 includes all.
My personal opinion is that a l4 finish should satisfy 95% of the time if done properly. Level 5 when you mention no texture, darker flat colors a level 4 is more than adequate, but then you mention wide expanse of curtainwall that lights the place up and shows everything which would probably call for a level 5. That is true Level 5.
Level 4 includes all steps taking of coating and coating again with the joint compound over the joints and angles to create an even level. This is the level that typically is used when a wall surface will be painted or covered. Actually, level 4 includes all steps taking of coating and coating again with the joint compound over the joints and angles to create an even level.
So that, level 4 includes all steps taking of coating and coating again with the joint compound over the joints and angles to create an even level. Building in canada :) 0 comments. This is the standard level of drywall finish if nothing else is specified. My personal opinion is that a level 4 finish should satisfy 95% of the time if.
Level 5, a skim coat of mud applied to entire surface and sanded to equalise texture over entire wall/ ceiling. What happens if the level of finish for drywall is specified below what is expected on a drywall job? Level 5 vs level 4 drywall. Actually, level 4 includes all steps taking of coating and coating again with the joint. So that, Level 5 is a skim coat, and can be substituted with veneer plaster.