How to Paint Kitchen Cabinets?
1. Gather your painting supplies.
The primary step for painting kitchen cabinets is to gather your supplies, obviously.
You'll need:
Covering up tape
TSP cleaner
Timber filler
TSP cleaner
Rugged sandpaper (60-grit).
Great sandpaper (360-grit).
A block or a mechanical sander.
Bonding primer.
Top-coat paint.
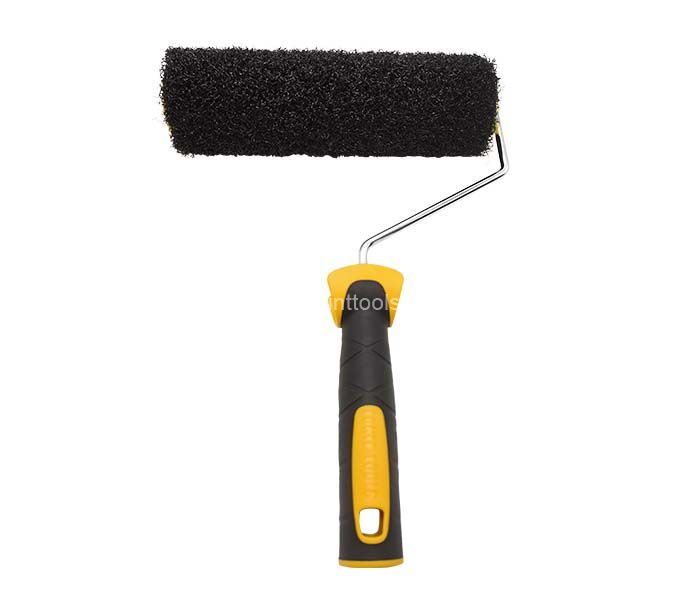
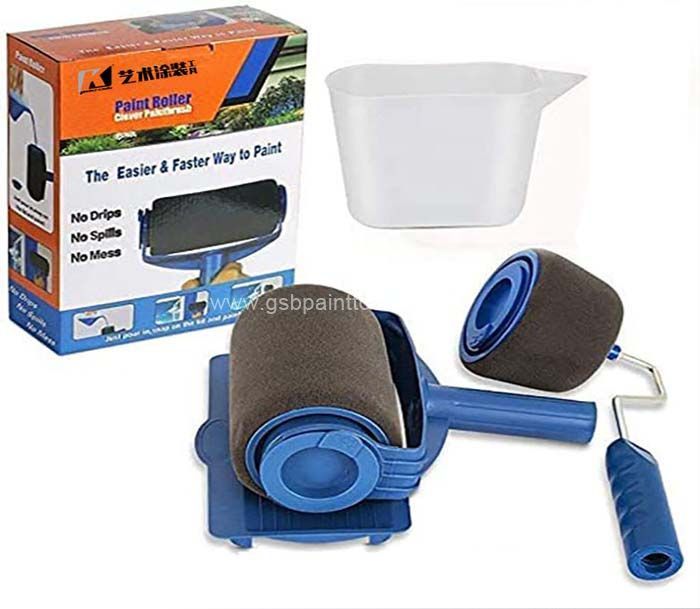
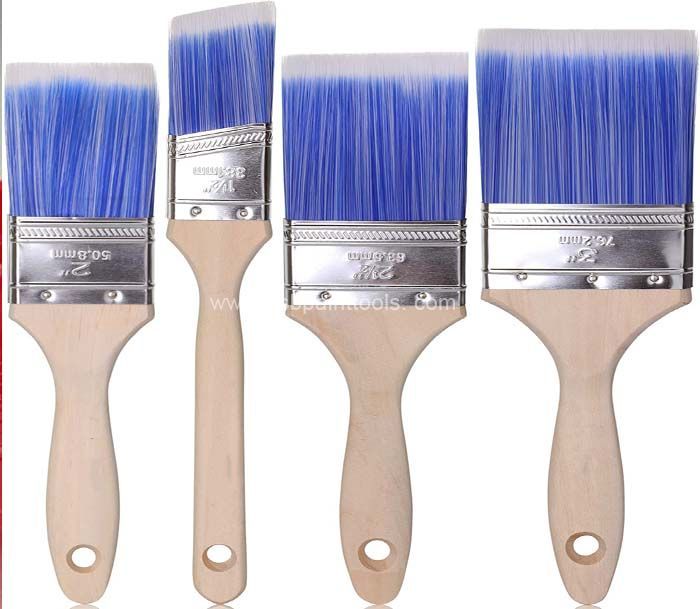
A brush and a Paint Roller.

Paint Roller
2. Remove cabinet doors, drawer fronts, as well as equipment.
You'll have the ability to paint every surface area a whole lot quicker if you take every one of the cupboard doors and cabinet fronts off their hinges before you start. To prevent among the cruelest jigsaw puzzles you've ever before performed with reassembly, tag each cupboard with a number, and give its corresponding door the same one. You'll additionally wish to get rid of all cupboard equipment.
3. Clean the cabinets like you have actually never cleansed before.
" Eighty percent of all kitchen area painting problems are due to lack of surface area prep," Rick claims, and also you shouldn't let on your own fall under that percentage. You're seeking to degrease months (and also perhaps years) of food preparation splatters and also kitchen oils so your paint will be adhering to a clean surface. And also for those of you that assume you can simply sand all that gunk off-- I see you. You can not sand all that grime off. If you try, you'll simply be grinding all of that dust right into the timber. Clean your kitchen cabinets thoroughly, making use of trisodium phosphate (TSP) cleaner to actually get all that particles, oil, as well as grease off.
4. Usage timber filler to fix any type of nicks.
Seek any type of blemishes like nicks, holes, cuts, or scratches. Press your wood filler right into the flaw, and spread it out with a putty blade. Allow it completely dry according to the wood filler instructions prior to continuing to the following step.
5. Sand the cabinet surfaces.
" Sanding scuffs up the surface of the cupboard and also opens up the pores of the wood for guides to sink in as well as create bond," states Rick. You can do this by hand if you're a hero, however if you do not desire your arm to seem like it might diminish in the very first 10 mins, I 'd recommend purchasing a mechanical sander-- or borrow one from a DIY-ing buddy. (Directs: The elimination of old paint can produce dirt or fumes that have lead in them.).
6. Prime the closets.
Consult your paint shop professional to be sure you have the appropriate guide for your task; laminate closets will certainly need a slightly various kind than timber cabinets. As well as examination a patch in a rare area before you give every little thing a layer. "If the guide fisheyes, implying you see a bubble basing on the surface area, that informs you your surface isn't clean enough," Rick claims. While everything dries, pour on your own an icy beverage-- you have actually already achieved a great deal!
7. Sand the cupboards once more.
Note: this action is purely optional. Yet if you roll with the Type-A group (or you're looking for a very professional-looking paint task), take into consideration sanding the dry guide just to ensure there's no grit, dirt, or hairs from the brushes left. If you opt right into this step, you'll need fine-grain sandpaper-- try to find 360-grit or above. Doing this additional step makes sure a smooth surface.
8. Paint the kitchen cabinets.
Wipe your cleaned, sanded, and topped kitchen cabinets down with a moist dustcloth to get rid of any dirt that might have resolved while you bought pizza, and get to painting. Kitchens are high-traffic, so you'll desire something that's actually long lasting for painting kitchen cabinets, however the surface-- glossy or no-- is entirely approximately you. And there's no need for a safety clear coat over the top. "If you want additional insurance, just do a second coat of your pigmented paint."
We are Pattern Roller Factory, welcome to consult us.