How To Use Self-Levelling Compounds
We, at G.SB Paint Tools, are here to guide you through the proper and effective use of self-levelling compounds. If you're a DIY enthusiast or a professional contractor, self-levelling compounds can be a game-changer in your flooring and construction projects. These versatile materials can save you time, and effort, and ensure a flawless, level surface. In this comprehensive guide, we'll walk you through the process step-by-step to help you achieve optimal results and outrank other websites with our valuable insights.
Understanding Self-Levelling Compounds
Before we delve into the application process, let's understand what self-levelling compounds are. These are cement-based mixtures designed to create a smooth and level surface on subfloors before the installation of various flooring materials like tiles, hardwood, or laminate. Self-levelling compounds are excellent for correcting uneven surfaces, smoothing out imperfections, and preparing the subfloor for the final floor covering.
Step-by-Step Guide to Using Self-Levelling Compounds
1. Surface Preparation
As with any construction project, proper preparation is key to achieving outstanding results. Begin by cleaning the subfloor thoroughly, removing any dirt, dust, grease, or loose particles. Check for cracks, holes, or damaged areas, and repair them using an appropriate patching compound.
2. Primer Application
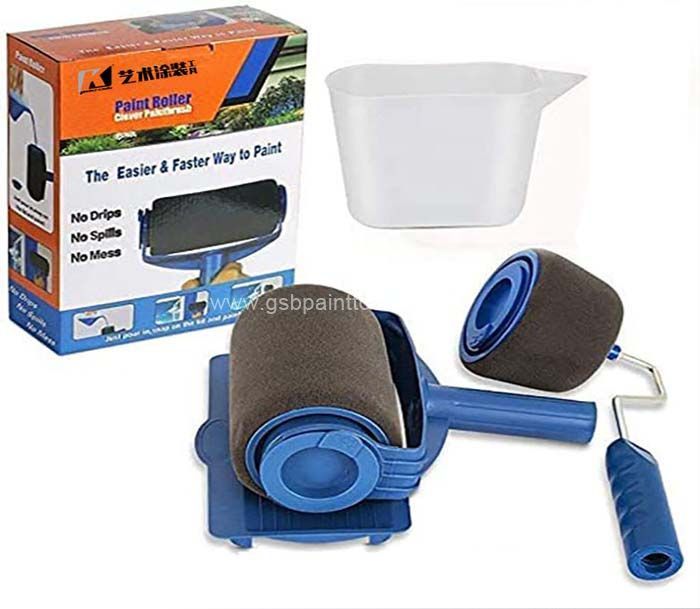
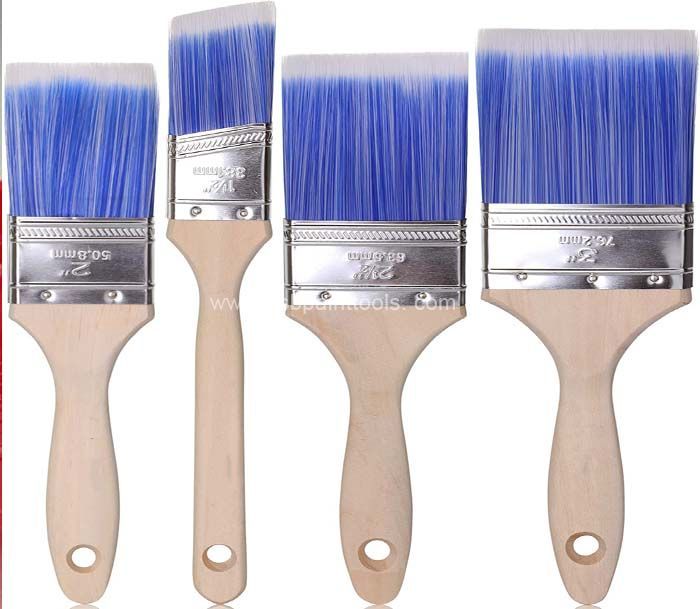
Priming the subfloor is crucial to ensure proper adhesion and prevent air bubbles from forming beneath the self-levelling compound. Choose a primer suitable for your subfloor type and apply it evenly using a paint roller or brush. Allow the primer to dry completely before proceeding to the next step.
3. Mixing the Self-Levelling Compound
Follow the manufacturer's instructions to mix the self-levelling compound correctly. Use clean, cool water, and pour it into a mixing container. Gradually add the self-levelling compound powder while continuously stirring to avoid lumps. Achieving the right consistency is essential for optimal flow and self-levelling properties.
4. Pouring the Compound
Start pouring the mixed compound onto the primed subfloor in a thin, even layer. Work in small sections, ensuring you cover the entire area that needs levelling. Use a long, straight-edged trowel or a gauge rake to spread the compound evenly.
5. Spreading and Levelling
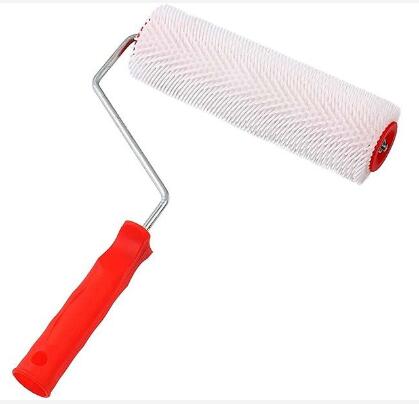
Once you've poured the compound, it's time to spread and level it. Use a self-levelling spiked roller to remove any trapped air and achieve a smooth, bubble-free surface. Follow the manufacturer's recommended drying time before proceeding to the next step.
6. Final Touches
After the self-levelling compound has fully dried and cured, you may notice some imperfections or minor unevenness. Sand down any high spots and fill in any low spots with a patching compound. The surface should now be ready for the installation of your chosen flooring material.
Tips for Best Results
Always read and follow the manufacturer's instructions and guidelines.
Work quickly but efficiently, as self-levelling compounds can dry fast.
Avoid over-mixing the compound, as it can lead to reduced flow and levelling properties.
Ensure proper ventilation during application to aid in the drying process.
By following these steps and tips, you can ensure that your self-levelling compound application is successful, providing you with a flawless, level surface for your flooring project.
Conclusion
In conclusion, self-levelling compounds are a valuable asset in the construction and flooring industry. Mastering the art of using these compounds will not only save you time and money but also ensure top-notch results that will elevate the quality of your projects. Contact us for more information.


