7 Tips for Upgrading Your Plastering Tools

One of the good things about plastering as a trade is the tools for plastering walls and ceilings and generally, any sort of plastering is essentially very minimal. If you relate what a plasterer needs for plastering walls to what a carpenter needs to make the wall first it is no wonder that plastering is a cheap business to continue. So that, let us take a look at the tools you will need to for plastering walls and ceilings.
Firstly, you will need buckets, now these buckets can be the gorilla type buckets or of course the traditional plasterer's buckets which are a lot-lot taller you will also need a few builders buckets as well for weighing out water and using one as a splash bucket.
Then you will need something to mix that plaster, whether it be Thistle Hard-wall for settling or sand and cement for restoration or plain old skimming you will want a mixer of some sort. In the old days, you would mix plaster by hand using a Podger but the reality is that it's not going to happen in this day and age.
The next thing you will want is something like a bucket trowel to help with grinding the plaster. We use a bucket trowel to scrape around the outside of the bucket to make know all the powder is mixed in nicely.
The next tool for plastering walls and ceilings is going to be a hawk or as our northern friends would say a hand-board. These come in various sizes and made from materials like plastic. That is right. So that, you have your plaster mixed up and it is now on your hawk. You now need to look at getting it off your hawk and onto the wall in question and for this, you will need a trowel.
Maybe, we are going to assumption you are applying a backing coat of sort and so once the hard-wall or sand and cement has been applied you will want a rule of some sort to try and get it smooth and level. This can be in the form of a feather edge or some plasterers are using Speed-skims but I like to keep things sensible so a feather edge is what you will need.
You will also need a spirit level as well to make sure the backing coat you have applied is not only flat but also plumb. Once the backing coat is on and you have ruled it t make it as flat as possible you will then need a rubber flat to smooth the background up and this gets the backing coat flatter but also gives it a key for your top coat to be applied.
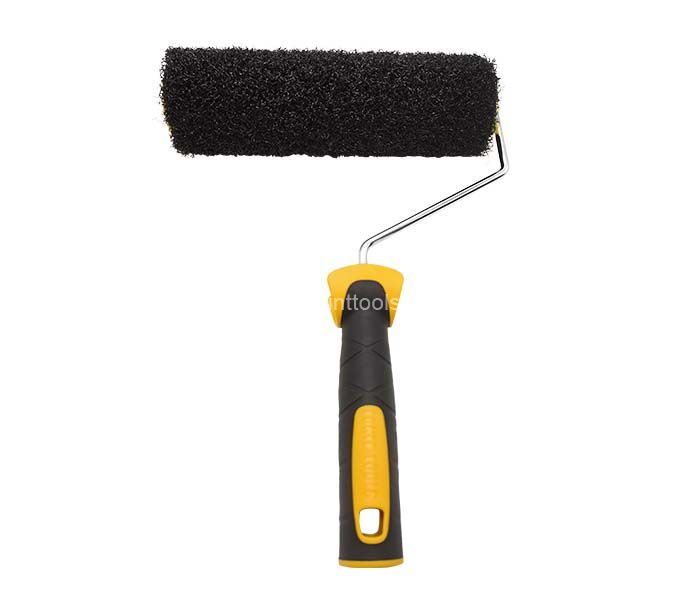
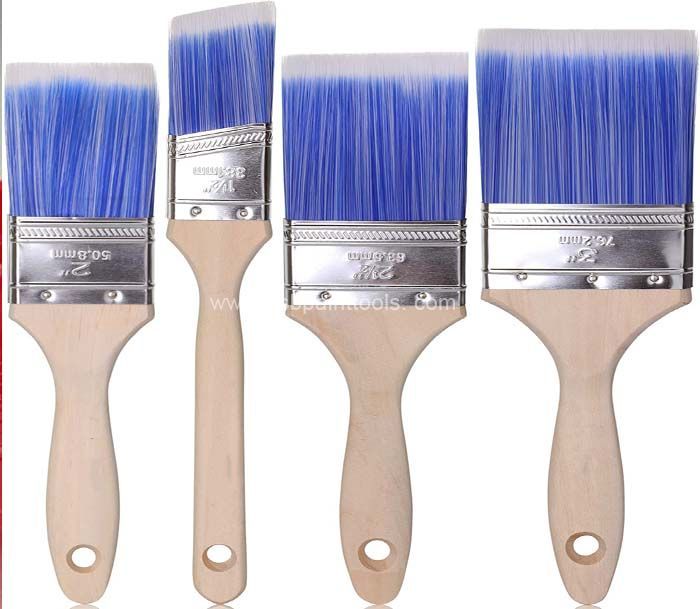
You will then need a paint brush to help keep your edges in check and to keep your tools clean. Plasterer's brushes are normally used for applying water straight onto walls or ceilings that are being prepared to be plastered, but can also be used for roughening up plaster before applying the final coat.
Unlike many other trades, plastering is historically budget-friendly for new tradespeople looking to get started in this field. You don't need to push out on a new specialized vehicle or heavy machinery, but you will need to account for ongoing costs.
Plastering tools have a short life cycle, which means you will need to attempt to fix items as you go. Whether you are replacing or upgrading your plastering tools, use 7 tips to help you make the right choice for yourself.

Tips for Upgrading Your Plastering Tools
1: Budget Tips
One of the most important things to remember when buying your first plastering tools or upgrading your original tools is the cost and how to accommodate it.
2: How Much Your Upstart Costs Will Be
You will, on average, pay between £450 and £700 for a base set of plastering tools and equipment when you first begin out. This includes essentials from a level set to mastering tools. Higher-end equipment will gain you more, but it is far more affordable to upgrade one tool (usually mixers and other machinery) than to keep replacing them.
3: Work the Costs into Your Day Rate
The best way to afford upgrades is by working out the replacement or upgrade cost you are looking at at your day amount. Don't forget to include your profit percentage on top of your costs, as G.SB recommends. Otherwise, you will never be able to upgrade or upgrade your business.
4: Have Your Contingency Plan
Sometimes things break. If there isn't a warranty or the warranty does not cover the replacement, and you need money in a hurry, then you could always recommend applying for a same day loan. These loans can help you in a pinch and help you get that replacement tool that you need fast, so you don't lose out on the job and can continue with a thriving client list.
5: Know Not Every "Upgrade" is Necessary
Sometimes the cheapest option is literally the best. It will have been constructed on a design that is as old as plastering itself and has been used by experts because it works. If you have not had a problem with your tools, then the chances are that the tools you have are completely acceptable. Instead of upgrading, you only need to remove them as their life cycle comes to an end.
6: Rely on Inside Tips and Reviews
If others in your field rant and moan about a new tool, and the same goes for reviews, then you have a good candidate for upgrading your toolset. This will likely come in the form of mixers, as new models appear to be wireless and very effective for use on the job.
7: Depend Based on How You Work
Whatever you do, only upgrade depending on how you work. So long as you don't have an unexpected upfront cost, you can usually update your tools as you go, based on how often you use them and how important they are to your work.
You must know but now that many paint workers are huge fans of plastic trowels and have been since the year and have always been behind plastic trowels. They have the pleasure of using almost all plastic trolleys over the years, and there have been some that they love and some that they fear and some that have been ok.The last plastic trowel brand Ben used was the K brand, and he sincerely hated it, he did not like it or see the point, and in a few sets he had already broken it, so not the greatest of stars for K brand with that one.

However, along comes the stainless-steel trowel with plastic handle SB-405-B9 and he was quite impressed with this new design of plastic trowel it is quite different to the normal plastic trowel. The Blade is a lot thicker and sturdier than he would expect and he was questioning how good this trowel was going to perform as he quite liked flexible blades on the previous plastic trowels he used.
Well, Ben determined to see if the stainless-steel trowel with the plastic handle was going to live up to his expectations and see what it is like to use the box Ben first plastered the ceiling using his 16-inch trowel and then he quickly-flatten in with an 18 inch. He then second coated and flattened in with the 16-inch stainless steel and then went for a cuppa.
When Ben returned to the ceiling and started troweling up with the 16-inch, which was dragging and acting a little odd and his heart sunk a little. It did that thing where it feels dry, but the trowel is still taking the gear off, and even with a mist of water the trowel is dragging, and the surface looked greasy and generally not very good.
Out came the trowel SB-405-B9 and Ben started to trowel up the ceiling, straight away the ceiling started to come back together, and the finish was looking great. A quick flick with a brush around the edges and one more lick over with the trowel SB-405-B9 and he happy with the finish.
Ben does not like spraying water on plaster and has always just kept his towel clean and wet when trolleying up rather than spraying tonnes of water and having rivers of water flowing and dripping from every surface. Ben was over the moon with the finish, and he does not think the plaster would have finished anywhere near as good with a steel trowel as it did with a plastic trowel.
There are haters of plastic trolleys, and we totally get that, and that's fine. When Ben first started using a plastic-trowel he had to tweak his style of plastering, and over the years Ben has gotten used to changing his timings to suit, and for a lot of plasterers, this is where they can struggle.
There are also plasterers who like to put on and flatten in with plastic and also flexible steel trowels. There have been plenty of photos shared of bumpy surfaces after people have used flexible trolleys but I am sure it is because they are not getting their timings right. I have never had these issues, and I do scrutinise my plastered walls and ceilings with lights after I have used a new trolley to see what the finish is like and I have always been more than happy.
I have been behind plastic trowels from the year, and I have always liked how plastic trowels finish multi finish and how easy it was on your joints as you don’t need to apply the pressure like you would with your standard trowel.
The plastic trowel is really only used for finishing, and before I arrived at the job, I found some wet and dry paper and whipped over the trowel to take any rough edges off and generally make sure she was in tip top condition. This took a matter of minutes and arguably probably did not need doing, but I am a little odd and did it anyway.
So that, the ceiling went on nicely as it would over plasterboard, and I applied the first coat with a K brand stainless-steel trowel with plastic handle SB-405-B9 that I am also trying to break in. While I was that I decided to put on a few awkward reveals and a little wall on as well as I had spare plaster. Once that had firmed up, I licked over it with an 18-inch trowel and a tidy up around the edges as needs be.
Trowels are made of stainless steel and equipped with an ergonomic plastic handle. Used for the qualitative application of various dry mixes, their spreading over the surface and smoothing of bumps and seams during finishing works, painting and plastering.
Second coat got thrown on and flattened in and then wait continued for the plaster it started turning… at this point I have not touched the plastic trowel yet. All edges are looking good and a quick tidy up of tools and get ready for the troweling up stage. What I mean by tidying up is that I sat and had a cup of tea while staring at the ceiling.
The second coat is now firming up lovely, and its ready for a quick flatten and the stainless-steel trowel SB-405-B9 took it in its stride, and it did exactly what I was expecting, and it was nice to use. The ceiling troweled up nicely and did not need any water other than keeping the trowel clean. Although I did over trowel it as it was way more polished than I would normally leave any skimmed surface.
Exclusive plastic handle. An ergonomic handle designed perfectly for both comfort and performance. The perfectly Trowel has been coated in very good stainless-steel for the ultimate glide and perfect finish. Ultra-lightweight aluminium mounting made from a robust special alloy for ultra-high stability and easy handling. Attached with special bolts.
K brand Paint Tools or Plastering Tools Range, for the Professional Plasterers and paint-workers. Our Plastering Tools offer the latest range of products to the plastering trade. This range was first launched 2008, K brand has quickly become an extremely respected and trusted name amongst those in the trade. A variety of different plastering trowels are available, offering you plenty of choices at competitive prices.
Moreover, they are manufactured to the highest quality at excellent prices. As a company, they strive to be the best and will listen to the trade constantly in order to achieve this goal and stay at the top.

G.SB Paint Tools Co., Ltd. is committed to providing the highest quality tools to the construction industry. The company began by concentrating on paint rollers and paint brushes, but has since expanded its range into Plastering, paint spray guns...etc.
Our extensive line of trusted and respected K brand products continues to grow and improve. Products include:
Plaster Trowels
Venetian Supreme
Margin Trowels
Spatulas
Pointing Trowels
Texture Trowel
How to plan your next plastering job
Sometimes it is difficult to tell what kind of job is needed to be done on the wall or the ceiling. If that is the case, you could easily waste your time going through a lot of websites to find the right person to do the job at the lowest price. Since that is the case, you may want to submit a job description on the website, and they will contact you with the quote.
The first thing that you need to do is make sure you measure the area to be plastered. You will also want to note if it is a wall or ceiling. The location of the room is also valuable information. You will want to mention if it is the office or home, and even if it is the bathroom, a garden space, kitchen, or even by the driveway.
If you are getting a new plasterboard ceiling, you will need to know that you can fit the 12.5 mm plasterboard over the ceiling that is already present. Then the finishing plaster will be a 3 mm skim of plaster. When you are getting the price quote, you will want to make sure that it includes the price of the materials and the labour.
You will find that it will be the same information you get if you are getting walls plastered or the ceiling. With most of these jobs, you will have to pay up to 20% in advance and then the rest of the payment after the job is complete.
You will find that when you are looking for a plasterer, it is not hard to find one because these jobs are required on a regular basis. Even if you are getting repairs made the job will have a quote, and it is usually by the hour pay.
You will find that most plastering jobs will be done by applying different kinds of plaster to give the inside of the building a finish. The surface can be walls, ceiling, or even floors. If you are doing the plastering on the outside walls, you will notice that it is done with a mixture of sand and cement but could be pebble-dash or other materials that have a stone look.
With the plastering jobs, they will generally vary from the new housing to commercial buildings, but can even be the domestic extension or rehabbing of a property. Now it is time to look at the solid and fibrous plastering, which is the two basic types of jobs.
The solid plastering is a wet finish that is applied to the various surfaces of the inside of the home. These can have some protective coverings as well like pebble-dash if they are being applied to the outside. Usually, you will find that the plaster will use a variety of tools from spraying equipment to hand tools to complete the job.
Fibrous plastering is going to be more of the decorating style that will be used to make a decorative design on the walls, ceilings, and even the columns. Usually, you will find this style is a mixture of both plaster and short fibres. Often, someone will make a design, and the plasterer will follow the moulds and cast that were made.
You may even hear the term drylining at times when looking at plastering jobs. This is a term that is often used to describe the partitions on the inside using plasterboard or wallboard. Usually, these are going to have a timber or metal frame that is ready to decorate and on it will have the fastening boards to keep it together.