Dragging Pad Technique for Strié Effect on Kitchen Cabinets
Stir Paint Mixer Walls Dragging Pad Wholesale buyers, cabinet painters, and do-it-yourself homeowners often search for a reliable way to create a clean strie finish without expensive spraying equipment. The dragging pad technique uses a flexible decorative painting pad to pull wet glaze or paint into long, controlled lines across cabinet surfaces.
This guide explains the tools, preparation, application process, product selection, common mistakes, and troubleshooting methods needed to create an even strie effect on kitchen cabinets.
Understand How the Dragging Pad Technique Creates a Strie Effect
What a strie finish looks like
A strie finish is a decorative effect made of fine vertical or horizontal lines. The lines resemble brushed fabric, wood grain, or softly stretched color. The result can make flat cabinet doors look taller, more textured, and more custom-made.
- Vertical dragging can make upper cabinets appear taller.
- Horizontal dragging can make wide cabinet doors appear longer.
- Subtle color contrast creates a refined finish.
- Strong color contrast produces a more dramatic furniture-style effect.
Why use a dragging pad instead of a brush
A dragging pad distributes pressure across a wider surface than a brush. This can reduce harsh brush marks and help the painter create longer, more consistent lines. The pad is especially useful when working with glaze, transparent decorative paint, or a thin secondary color.
- It can create a softer transition between lines.
- It is easier to control on broad cabinet panels.
- It can be used with vertical, horizontal, or slightly angled strokes.
- It is suitable for small cabinet doors and larger wall panels.
- It can help reduce labor time on repeated cabinet projects.
Choose the Required Tools and Materials Before Painting
Required tools
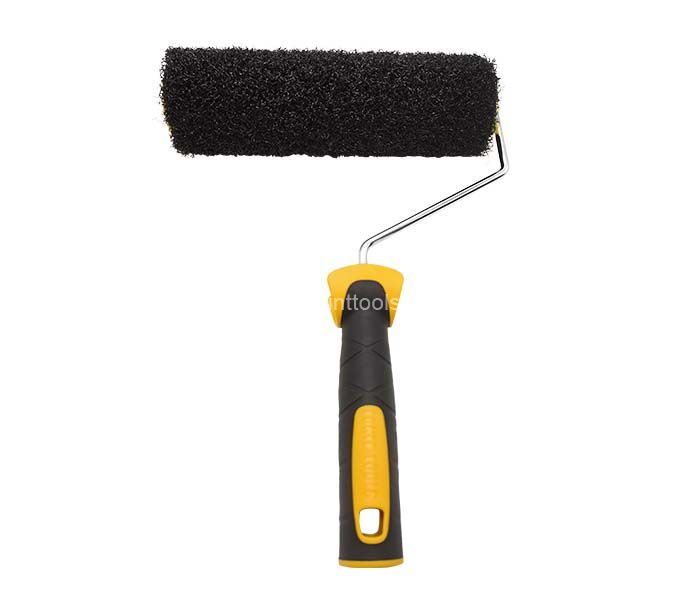
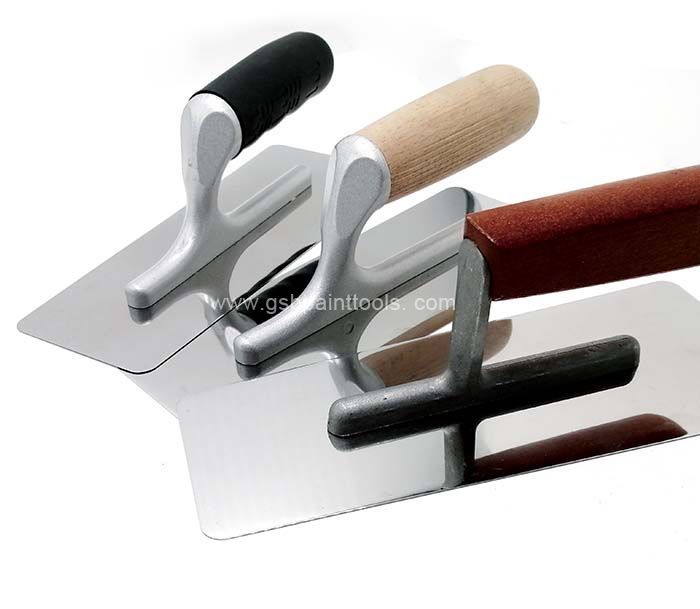
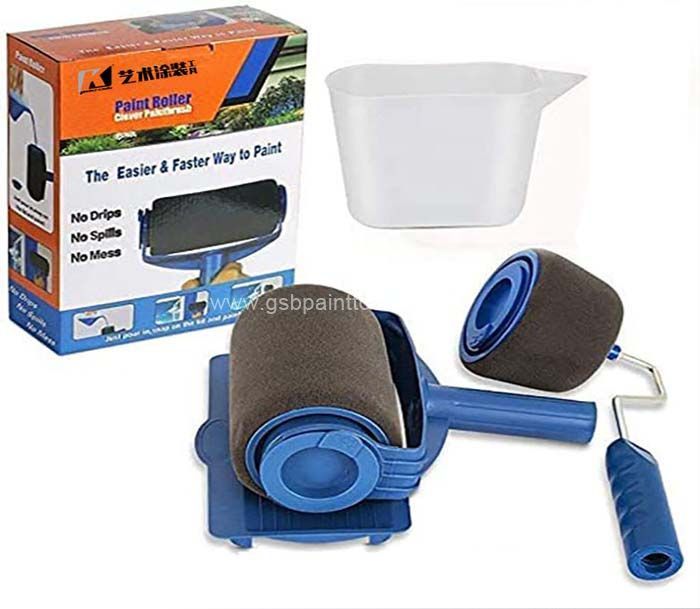
- Decorative dragging pad with a clean, flexible working surface.
- High-quality paint stirrer or Stir Paint Mixer for thoroughly blending paint and glaze.
- Two paint trays or shallow containers.
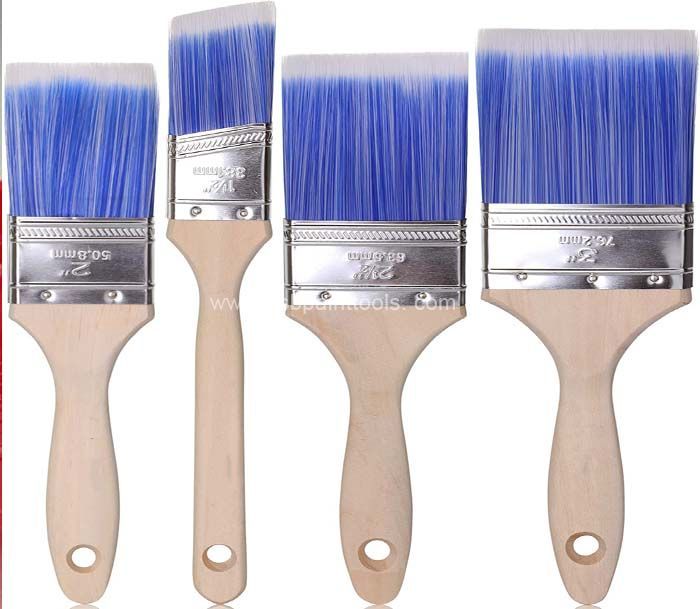
- Small synthetic paintbrush for corners, profiles, and recessed areas.
- Short-nap roller for applying the base coat.
- Lint-free wiping cloths.
- Fine sanding sponge, preferably between 220 and 320 grit.
- Painter's tape.
- Drop cloth or protective plastic sheeting.
- Small measuring cup for mixing consistent glaze batches.
- Test board or spare cabinet door.
- Disposable gloves and eye protection.
Required paint and coating materials
- Cabinet cleaner or degreaser.
- Bonding primer suitable for the existing cabinet surface.
- Durable cabinet paint for the base coat.
- Decorative glaze or thinned topcoat for the strie layer.
- Clean water for water-based products or the correct thinner for solvent-based products.
- Compatible clear protective topcoat.
Recommended pad specifications for cabinet work
Purchasing groups should evaluate the dragging pad based on the type of cabinet work they perform rather than choosing only by the lowest unit price.
- Pad width: A medium-width pad is easier to control on standard cabinet doors.
- Pad flexibility: The pad should flex enough to follow a flat panel without folding or leaving gaps.
- Edge design: A clean, straight edge helps create uniform lines.
- Surface texture: The working surface should produce controlled drag without shedding fibers.
- Handle comfort: A stable handle reduces hand fatigue during repeated strokes.
- Cleaning performance: Reusable pads should release paint and glaze without losing their shape.
- Batch consistency: Wholesale buyers need pads with consistent size, texture, and stiffness from one shipment to the next.
Prepare the Kitchen Cabinets for a Smooth Strie Finish
First step: Remove hardware and label every cabinet part
Remove knobs, handles, hinges, and other hardware. Place each item in a labeled bag. Mark the back of every door and drawer so that each part returns to its original position after painting.
Working on removed doors makes it easier to maintain a straight dragging path and prevents wet glaze from running into hinges or hardware openings.
Second step: Clean away grease and residue
Kitchen cabinets often contain invisible cooking grease, hand oils, wax, and cleaning product residue. These contaminants can prevent primer and paint from bonding properly.
- Apply a suitable cabinet degreaser.
- Scrub areas around handles, corners, and the lower edges of doors.
- Wipe the surface with clean water if required by the cleaner instructions.
- Allow the cabinet to dry completely before sanding.
Third step: Sand and repair the surface
Lightly sand glossy surfaces to create a suitable profile for primer. Do not remove more material than necessary, especially on veneer or thin manufactured panels.
- Fill dents and deep scratches with a compatible wood filler.
- Sand repaired areas until they are level with the surrounding surface.
- Remove sanding dust with a vacuum and lint-free cloth.
- Inspect the surface under bright side lighting.
Fourth step: Apply bonding primer
Apply a thin, even coat of bonding primer. Avoid heavy buildup around door profiles and edges. Allow the primer to dry according to the manufacturer's instructions, then sand lightly if the surface feels rough.
Fifth step: Apply and cure the base coat
Apply the base color with a short-nap roller or a suitable brush. Use thin coats rather than one thick coat. Allow each coat to dry fully before applying the next one.
The base coat should be smooth because every ridge, roller mark, or dust particle can become more visible after the strie layer is dragged across it.
Apply the Dragging Pad Technique Step by Step
First step: Choose the direction of the strie lines
Decide whether the lines will run vertically, horizontally, or in a controlled diagonal direction. Use the same direction on all similar cabinet doors to create a coordinated design.
- Use vertical lines for a taller visual appearance.
- Use horizontal lines for a wider visual appearance.
- Use vertical lines on narrow doors and panels when a more balanced look is desired.
- Mark a light guide line on the back of a test board before starting the cabinet doors.
Second step: Mix the decorative glaze or dragging color
Stir the decorative coating slowly with a Stir Paint Mixer until the color and additives are evenly distributed. Avoid shaking the container because excessive air bubbles can create pinholes and uneven marks.
Use the same mixing ratio for the complete project. A common starting point is a thin glaze mixed with a compatible paint color, but the exact ratio depends on the product, desired transparency, and working time.
- Use more glaze for a softer and more transparent effect.
- Use more paint for stronger color coverage.
- Add thinner only when recommended for the selected coating.
- Record the mixing ratio so the next batch matches the first batch.
Third step: Test the mixture and pad on a sample board
Apply the base coat to a spare board or unused cabinet door. Test the decorative mixture, pad pressure, stroke speed, and drying time before working on the finished cabinets.
Check the sample after it dries. Wet glaze may look darker, shinier, or more uneven than the final cured finish.
Fourth step: Apply a manageable section of glaze
Work on one cabinet door or one clearly defined section at a time. Apply a thin, even layer of glaze with a brush, roller, or clean pad. The layer must remain wet long enough for the dragging pad to create continuous lines.
Do not coat more surface area than you can drag before the glaze begins to set. On warm or dry days, reduce the working section size.
Fifth step: Load the dragging pad evenly
Touch the pad lightly into the wet glaze or spread a small amount across the pad. The pad should be damp with product, not saturated.
- Remove excess coating on a clean part of the tray.
- Make sure the leading edge is clean and free from dried particles.
- Use the same amount of product for each stroke.
- Reload the pad only when the lines begin to lose their color or continuity.
Sixth step: Pull the pad in one continuous movement
Place the pad at the starting edge of the cabinet panel. Apply light, even pressure and pull the pad across the complete length of the panel in one continuous motion.
- Start with the pad aligned to the edge of the panel.
- Keep your wrist straight and your arm moving at a steady speed.
- Maintain consistent pressure from the beginning to the end of the stroke.
- Lift the pad only after reaching the opposite edge.
- Overlap the next stroke slightly if a wider pad or panel requires multiple passes.
Seventh step: Correct isolated defects while the glaze is wet
If a line is too dark, too heavy, or interrupted, use a clean, lightly damp pad to soften the area. Do not repeatedly scrub the same spot because this can remove the base coat and create a patch.
For cabinet profiles and recessed edges, use a small brush to connect the decorative effect carefully. Keep the direction of the brush marks consistent with the main dragged lines.
Eighth step: Allow the finish to dry without disturbance
Place the cabinet doors flat or support them securely in a dust-free area. Avoid touching, stacking, or reinstalling the doors until the glaze has dried according to the coating manufacturer's instructions.
Ninth step: Apply a compatible protective clear coat
Once the strie layer has cured sufficiently, apply a clear protective finish designed for painted cabinetry. Test the clear coat on a sample first because some products can change the color, gloss level, or transparency of the decorative layer.
- Use thin coats to avoid runs and cloudiness.
- Do not apply an incompatible solvent over a water-based decorative layer.
- Allow sufficient drying time between coats.
- Handle doors carefully until the protective coating has fully cured.
Control Line Quality, Color, and Texture
How to create fine strie lines
Use a thinner decorative mixture, light pad pressure, and a steady stroke speed. A slightly drier pad can create more separated lines, but it may also produce gaps if the surface is too dry.
How to create wider and softer lines
Use a pad with a broader working surface and apply slightly more glaze. Reduce pressure and avoid overlapping too many strokes. A softer effect usually comes from controlled transparency rather than heavy product application.
How to create a stronger contrast
Choose a decorative color that is visibly different from the base coat. Apply the color consistently and test the contrast under the kitchen's actual lighting. Dark decorative colors can appear much stronger on a large run of cabinets than on a small sample.
How to maintain consistency across multiple doors
- Mix enough glaze for a complete group of similar doors.
- Use the same pad orientation on every panel.
- Maintain the same stroke direction throughout the kitchen.
- Keep a written record of color ratio, pad type, pressure, and drying time.
- Inspect each completed door beside the previous door before starting the next one.
- Replace or clean the pad when dried particles begin to mark the surface.
Avoid Common Dragging Pad Mistakes
Applying the technique over a dirty surface
Grease and dust can cause fish eyes, adhesion failure, and uneven dragging. Always clean the cabinet surface thoroughly before sanding and priming.
Skipping the test panel
Without a test panel, it is difficult to judge drying time, color contrast, pad pressure, and mixture transparency. Testing prevents expensive corrections on finished doors.
Using too much glaze
An overly wet surface can create runs, puddles, dark edges, and muddy lines. Apply a thin layer that remains workable but does not flow freely.
Working after the glaze has started to dry
Dragging partially dried glaze can produce torn lines and visible stop marks. Work in smaller sections or use a compatible extender if the coating manufacturer permits it.
Changing pressure during the stroke
Heavy pressure at the start and light pressure at the end creates tapered lines. Keep the pad pressure as consistent as possible from edge to edge.
Stopping in the middle of a cabinet panel
A stop mark is difficult to hide on a large flat surface. Plan the stroke before touching the panel and use a continuous movement whenever possible.
Using a contaminated pad
Dried paint, dust, and old color on the pad can create scratches and dark streaks. Clean the pad between colors and replace it if the working edge no longer remains smooth.
Applying an incompatible protective finish
Some clear coats can dissolve or soften the decorative layer. Confirm compatibility with the paint and glaze manufacturer before applying the final protective coating.
Troubleshoot Uneven Strie Results
Problem: The lines are too faint
- Use a slightly stronger decorative color.
- Increase the amount of glaze on the pad without saturating it.
- Reduce stroke speed slightly.
- Confirm that the base coat is not too glossy for the selected product.
Problem: The lines are too heavy
- Remove excess coating from the pad before dragging.
- Use lighter pressure.
- Add more compatible glaze to reduce opacity.
- Use a clean pad to soften the wet surface.
Problem: The lines stop or break
- Apply more wet product to the working section.
- Move the pad more slowly and consistently.
- Check whether the pad is too dry.
- Reduce the size of the section being coated.
Problem: The finish looks patchy between cabinet doors
- Confirm that each door received the same base color.
- Use the same glaze ratio for every batch.
- Maintain the same stroke direction and pad pressure.
- Compare doors under the same lighting before making corrections.
Select a Reliable Dragging Pad for Professional and Wholesale Projects
What cabinet painters should evaluate
Professional painters need a tool that produces repeatable results across many doors. A pad that feels comfortable for one sample may become tiring or inconsistent during a full kitchen project.
- Consistent working width and edge shape.
- Comfortable grip for repeated dragging strokes.
- Suitable flexibility for flat panels and light profiles.
- Low lint and low shedding performance.
- Easy cleaning between colors.
- Stable performance with both paint and decorative glaze.
- Reliable availability for replacement orders.
What distributors and purchasing teams should evaluate
Purchasing groups often need to balance unit cost, quality, packaging, shipping, and customer satisfaction. A low-cost pad that produces inconsistent lines can create returns, wasted paint, and additional labor.
- Minimum order quantity and tiered wholesale pricing.
- Sample approval before placing a large order.
- Product dimensions and material specifications.
- Packaging that protects the pad edge during shipping.
- Color and shape consistency between production batches.
- Private labeling or custom packaging options.
- Lead time and reorder capacity.
- Quality control documentation.
- Technical support for recommended paint and glaze applications.
Why G.SB can support repeat decorative painting work
G.SB focuses on practical painting tools designed for controlled application and repeatable surface results. For cabinet contractors, retailers, and wholesale buyers, the most valuable product is not only a pad that works on one project. It is a pad that maintains its shape, edge quality, and handling performance across multiple orders.
Before purchasing in volume, request product samples and test them with the actual cabinet paint, glaze, and working conditions used by your customers. This provides a more accurate evaluation than comparing appearance or price alone.
Use This Final Checklist Before Starting the Cabinet Project
Surface preparation checklist
- Hardware has been removed and labeled.
- Grease and cleaning residue have been removed.
- Dents and scratches have been repaired.
- The surface has been lightly sanded.
- Dust has been removed completely.
- Bonding primer has been applied and cured.
- The base coat is smooth and fully dry.
Application checklist
- The decorative mixture has been stirred thoroughly with a Stir Paint Mixer.
- The color and glaze ratio have been recorded.
- A test board has been completed and approved.
- The stroke direction has been selected.
- The dragging pad is clean and undamaged.
- The working section is small enough to remain wet.
- The pad is loaded evenly.
- Each stroke is continuous and controlled.
- The surface is protected from dust while drying.
- The clear coat has been tested for compatibility.
Final purchasing checklist
- Confirm pad size, material, flexibility, and edge design.
- Request samples before approving wholesale quantities.
- Test the pad with the intended paint and glaze.
- Compare cleaning performance and service life.
- Verify packaging, lead time, and repeat-order capacity.
- Ask about G.SB quality control and available wholesale support.
With careful surface preparation, a properly mixed decorative coating, consistent pad pressure, and a controlled continuous stroke, the dragging pad technique can produce an attractive strie effect on kitchen cabinets. For dependable tools and repeat orders, evaluate G.SB Stir Paint Mixer Walls Dragging Pad Wholesale options using real cabinet paint tests before finalizing your purchase.
 Previous: None