Drywall Skimming Spatula | Fill a Gap Between Drywall and Ceiling
Wall is an everyday thing that we don’t normally think twice about when we see it, whether it is an interior or exterior wall in a Shopping Centre or in a prestigious gallery. But simply think about how different and versatile it is makes use of have been over the lots of years it’s been used in civilizations proper throughout the world.

From mud-made walls to the fine art that dry-liners, fixers jointers and plasterers now carry out. It’s also easy to forget that plaster and jointing compound in its basic form is a combination of things like sand, rock, cement, lime, and water.
The main point of building a wall right from its earliest days, was to bring windproof, waterproof protection to dwellings so that everyday people could stay safe and dry, whatever the weather. And then of course, over the years building internal walls and ceilings became an art.
We’ve seen plaster and jointing compound being used for aesthetic effect to create a look of richness and beauty in the extravagant homes and prestigious buildings such as museums, theatres and palaces.
All these elements of making a wall continue to be section of the use and motive of the material, however time has led to full-size enterprise enhancements in technological know-how and skill, in preserving with the desires of modern life.
Plaster has been made from all kinds of things over its long history; some of which are cheap and readily available, and others that were more expensive and refined. But let’s concentrate for now on the most popular modern-day forms of building a wall drying.
To these days, gypsum has become the main component of drywall compound. It has a crystalline structure that makes it perfect for the job. No fibrous binding material is needed because when gypsum get wet, they bind automatically and naturally. We all love a smooth mix! And you?
How to fill a gap between drywall and ceiling
Drywall work isn’t always a perfect process, even for experienced pros who sometimes feel like they could complete a job in their sleep. There is always a lot of room for error and a lot of opportunity for things to go wrong. We always do our best to minimize that opportunity, but mistakes are not always avoidable, and there is almost always a solution to whatever the issue may be.
In this case, the difficulty is a hole between the drywall and the ceiling, which might also have be-fall for a quantity of reasons. The most frequent motive is the ceiling altering top throughout the size of the wall both due to the it settling inconsistently or in any other case transferring over time. An occasional lack of precision in the course of set up might also additionally motive a hole issue.
Whatever the motive might also be, any hole between drywall and ceiling is a problem and should be crammed in. Here’s how to do so seamlessly to conceal the hole and create a flush appear throughout.
Step 1: Mesh drywall tape
Start by placing a strip of fiberglass mesh drywall tape over the gap so that the top edge of the tape is flush against the ceiling.
Step 2: Apply joint compound
Then, cover the mesh tape with joint compound (also known as mud) using a putty knife. Press the mud firmly so it goes through the mesh tape and into the gap – this is ultimately what is filling in the gap.
The mud should cover the tape completely. You’ll want to spread it about two inches past the edge of the tape both on the wall side and on the ceiling side.
Step 3: Paper tape
Next, place a strip of paper tape along the seam between the wall and the ceiling, pressing along the seam with the knife to create a crease between the two surfaces. You can apply some mud to the wall and ceiling to provide a little extra hold for the tape.
Step 4: More mud
Cover the tape with some additional joint compound – but just a light coat this time. Spread it over the tape and about an inch onto the drywall with the knife, feathering the edges so they blend together smoothly.
Step 5: Let the mud dry
Now you can allow some time for the mud to dry, and then repeat the entire covering process, first covering with some more mud and then another strip of tape, followed again by the additional light outer coat of mud.
Step 6: Sand
Once you’ve applied another covering layer, sand the dried mud so it smooths out and blends with the drywall. Make sure you don’t sand through the paper tape, however. Wipe the surface with a cloth when you’re done to remove any remains from your sanding work.
Step 7: Paint
Lastly, paint both surfaces to match their colors and hide your work. Once the paint is dry, a second coat may be needed to completely hide the tape and mud.
Common drywall installation mistakes and how to avoid them
In addition to using good tools, you should also try to avoid plasterboard installation errors. because of drywall installation is as much of an art as it is a science, meaning there is plenty of room for error when performed by those not well-versed in the tricks of the trade.
This is easy to miss a detail or two that can cause the project to get out of hand pretty quickly, costing you both time and money while leading to subpar results. Here are some common drywall installation mistakes and how to make sure you steer clear of them on your next project.
1.Driving screws too deep:
It is highly convenient to by chance power screws a bit too deep when striking drywall, which outcomes in them breaking the paper floor of the drywall and negatively impacting the conserving electricity of the screws.
To make positive this doesn’t happen, you need to pressure the screw head solely about a quarter or half-turn previous the floor of the paper. Most drills have a grasp that lets in you to set the depth of the force which can assist in keeping off this issue.
2.Joints are too tight:
Two adjoining sheets that match collectively too tightly can end result in the drywall breaking throughout or after installation. You want to enable ample house for enlargement and contraction of the framing members, which takes place naturally as seasons change. Without sufficient house when this happens, you will get cracks.
Keep a 1/8-inch (about 0.31cm) space between sheets during installation to keep this from happening. Using a guide can help make sure your sheets are properly spaced throughout the job.
3.Fastening before trimming:
It’s not uncommon for an outlet hole to not quite fit the way you cut it at first. When this occurs, you should make sure to trim the opening BEFORE you fasten the drywall to the framing. Otherwise, the drywall is likely to break around the electrical box during trimming.
That is fine to fasten the sheet with a few screws located far enough away from the outlet opening before trimming, but steer clear of fastening all the way until the hole is right.
4.Placing joints next to doors and windows:
Lining up the edge of a sheet of drywall with the edge of a door or window frame is likely to lead to cracking in the future. As your home shifts and settles, the joint located adjacent to any door or window is weaker than solid drywall and will be at risk.
You’re higher off notching drywall round the opening rather of making a joint in these locations. Lay a full sheet over the opening and reduce out the house you want after fastening. It is k to be part of sheets over an opening, as properly – simply now not at the edges.
The more joints involved in your project, the more difficult it will be. Not only is it more work for you as there are more sheets to deal with and more taping to be done, but there’s also more room for error. And to simplify, use the largest and longest sheets of drywall you can. Don’t worry about cost – it’s better to have more than not enough and drywall is not a particularly expensive material.
G.SB Paint Toolshas been providing contractors with the highest quality and most extensive selection of paint tools, parts, and accessories in the industry since 2003. Our experts are here to help you find easy ways to save time and money on your painting project.
Why are G.SB paint tools an excellent choice and so good?
We pride ourselves on offering quality products from trusted suppliers and tool manufacturers with a strong reputation and reliability. With a vision to be recognized-as one of the best in the industry, we worked tirelessly on paint tools development and business expansion – and it paid off.
What sets G.SB apart is an ethos of high standards and expectations based on the needs and expertise of real-life tradesmen and paint work, whose advice and feedback are built into their product development. This means professionals trust this brand and know they can expect consistently top- quality performance from any G.SB paint tools.
The impact and improvements on time, money and effort is a radical upgrade in working practice and economic savings for drywalling professionals. But it’s not just G.SB paint tools that are going to give you professional results.
Even a basic putty knife or taping knife has the same design precision and attention to detail. You can invest in a range of G.SB drywall hand tools or sets for drywall taping and finishing tools, which means you’ll have everything you need to offer a professional service time and again.
Our drywall tools such as finishing spatulas, corner rollers, spatula poles, or spatula adaptors, are going to be great additions to your drywall. G.SB paint tools are right up there with any other well-known brand and you can be totally confident in their quality.
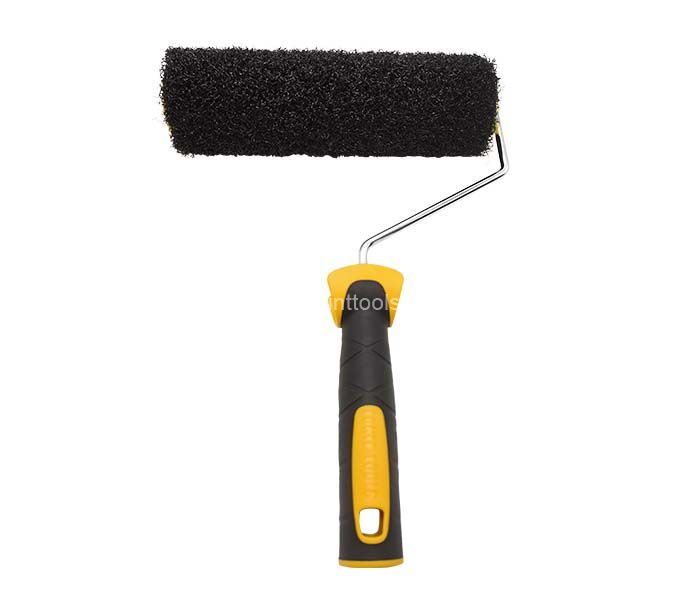
What is the point of a tool unless it can stand up to some serious hard work? That is one of the beliefs we hold here at GSB, which is why we recommend K brand Drywall Skimming Blades Spat Smoothing Tool Ideal for painting and Walls tools – a range praised in construction circles for their strength, durability and price point.
Tools come in all shapes, sizes, and prices. Even when using more advanced or automatic tools, you will always need to keep hold of your manual tool set to finish small spaces and do touch-ups. In fact, the K brand drywall skimming spatula is one of the finish drywall tools you need most.
Not only that, they offer outstanding safety features like an ergonomic handle design that ensures you get a decent grip when you are working. Take, for example, plastering and finishing. You’ll want a finishing tool with an ultra-fine blade that will work well with any G.SB-based plaster, which it is gives you just that.
If you are working with plaster, the stainless steel plasterers trowel is made using a very good ultra-flexible blade which is perfect for getting the best finish with the least effort, which it is made from good aluminium which makes it a premium product for additional comfort. It not only looks sleek and polished, it is going to last you a very long time.
For all your G.SB paint tool requirements, take a look at our dedicated page with their full range of tools and latest news. Stock up on G.SB paint tools and you can be confident with every new job that your kit won’t ever let you down!